My friend and colleague, Todd Pattison, recently invited me to participate in an online exhibition of bindings of Uppercase Magazine's newest volume in their Encyclopedia of Inspiration series on Feed Sacks. Along with a bunch of other binders (Erin Fletcher, Monica Holtsclaw, Karen Hanmer, and Brien Beidler being some of them), I have been spending the past few months working on a design and binding for the super colorful and visual inspiration-heavy text.
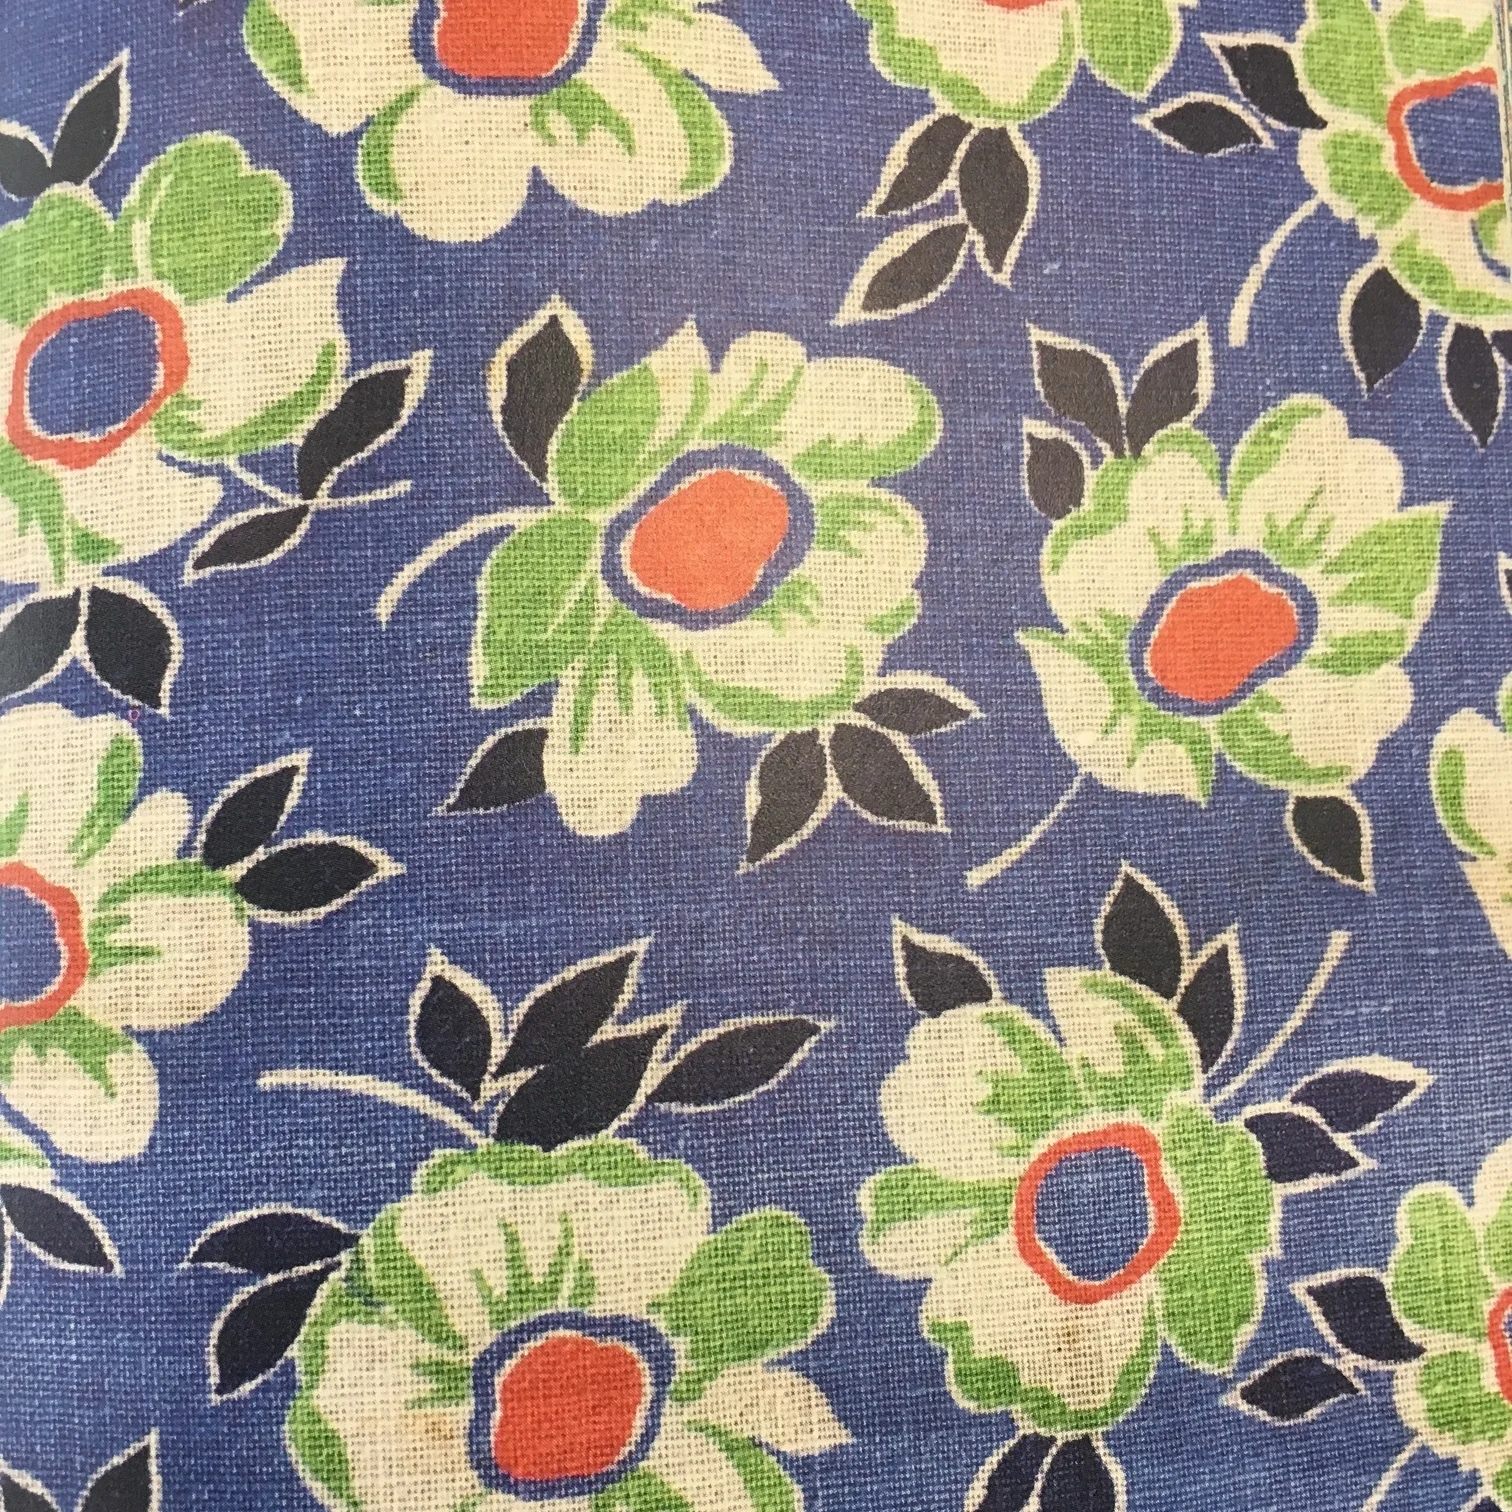
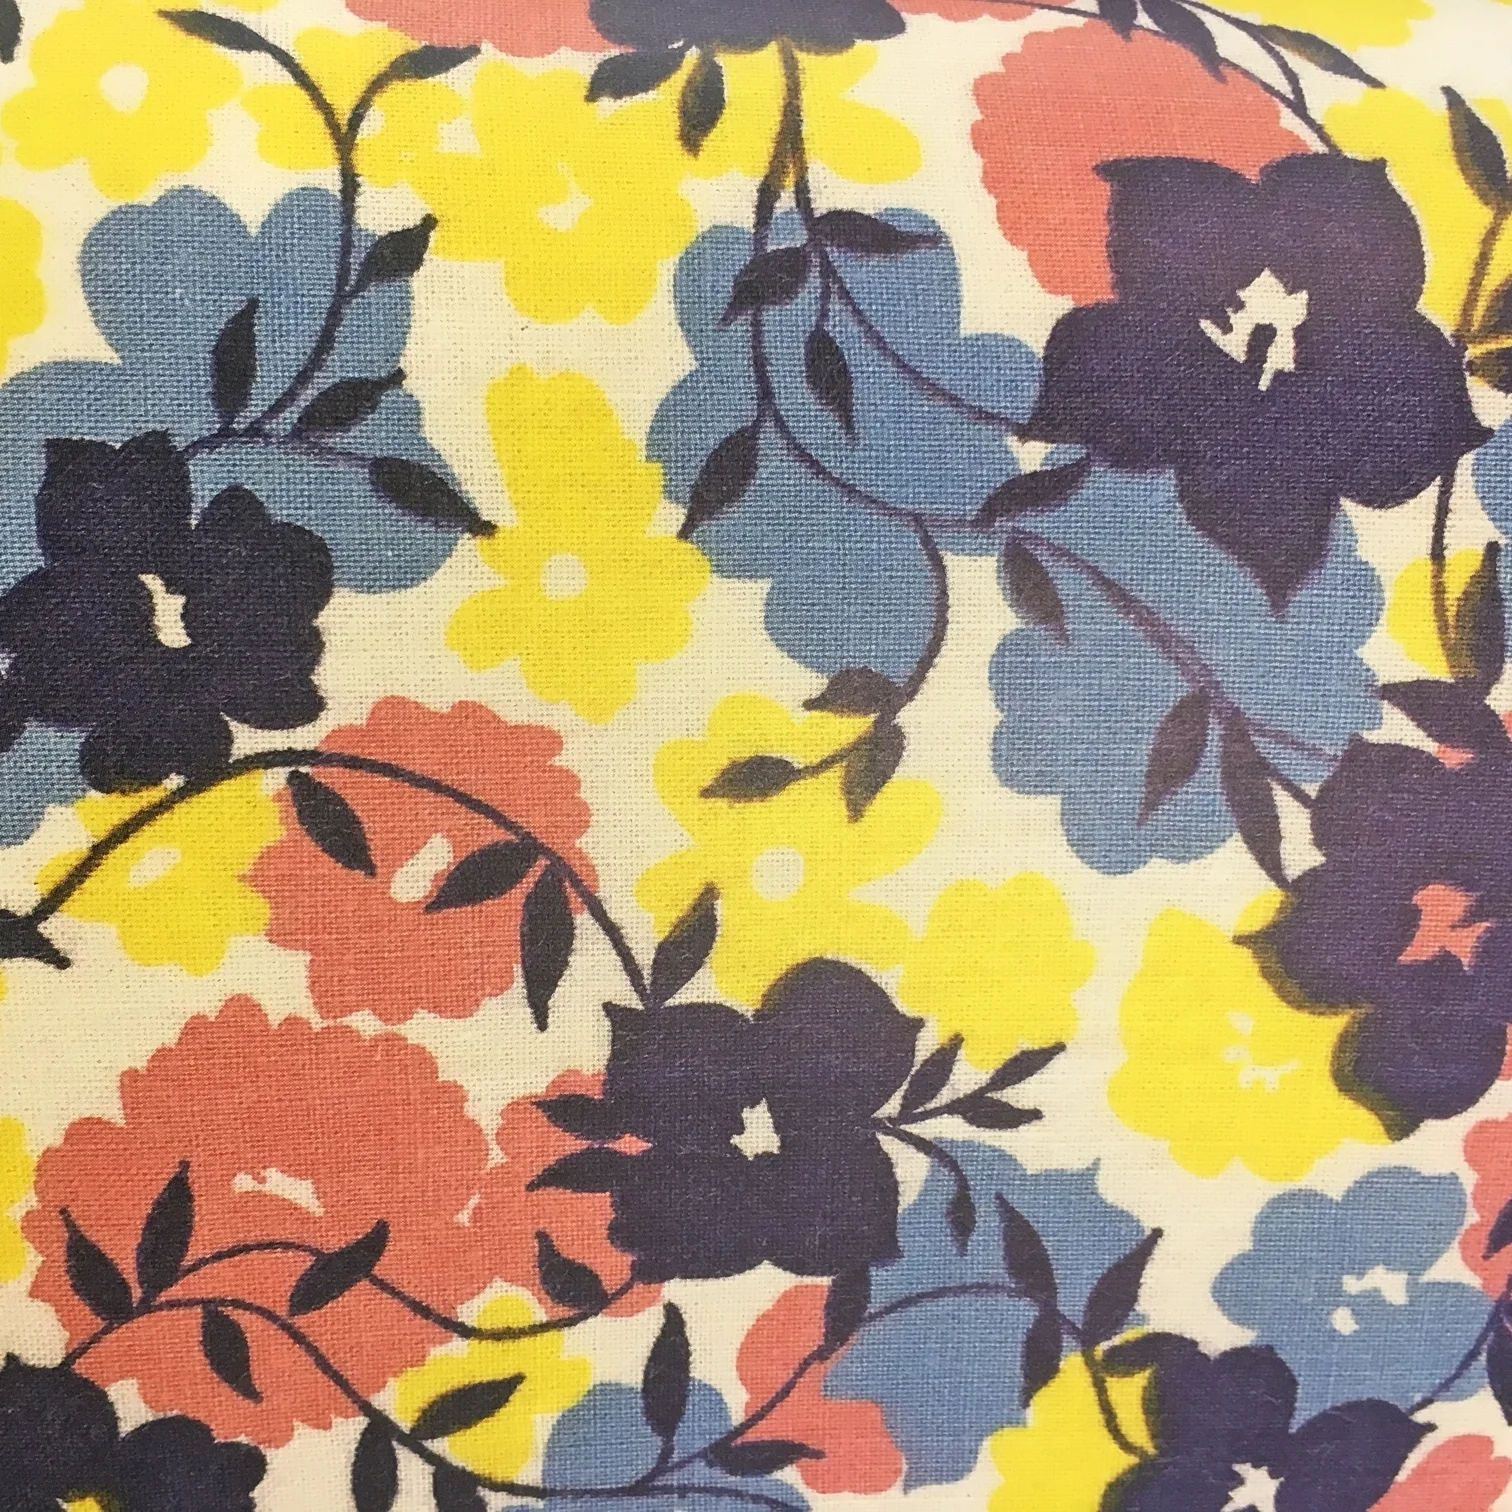
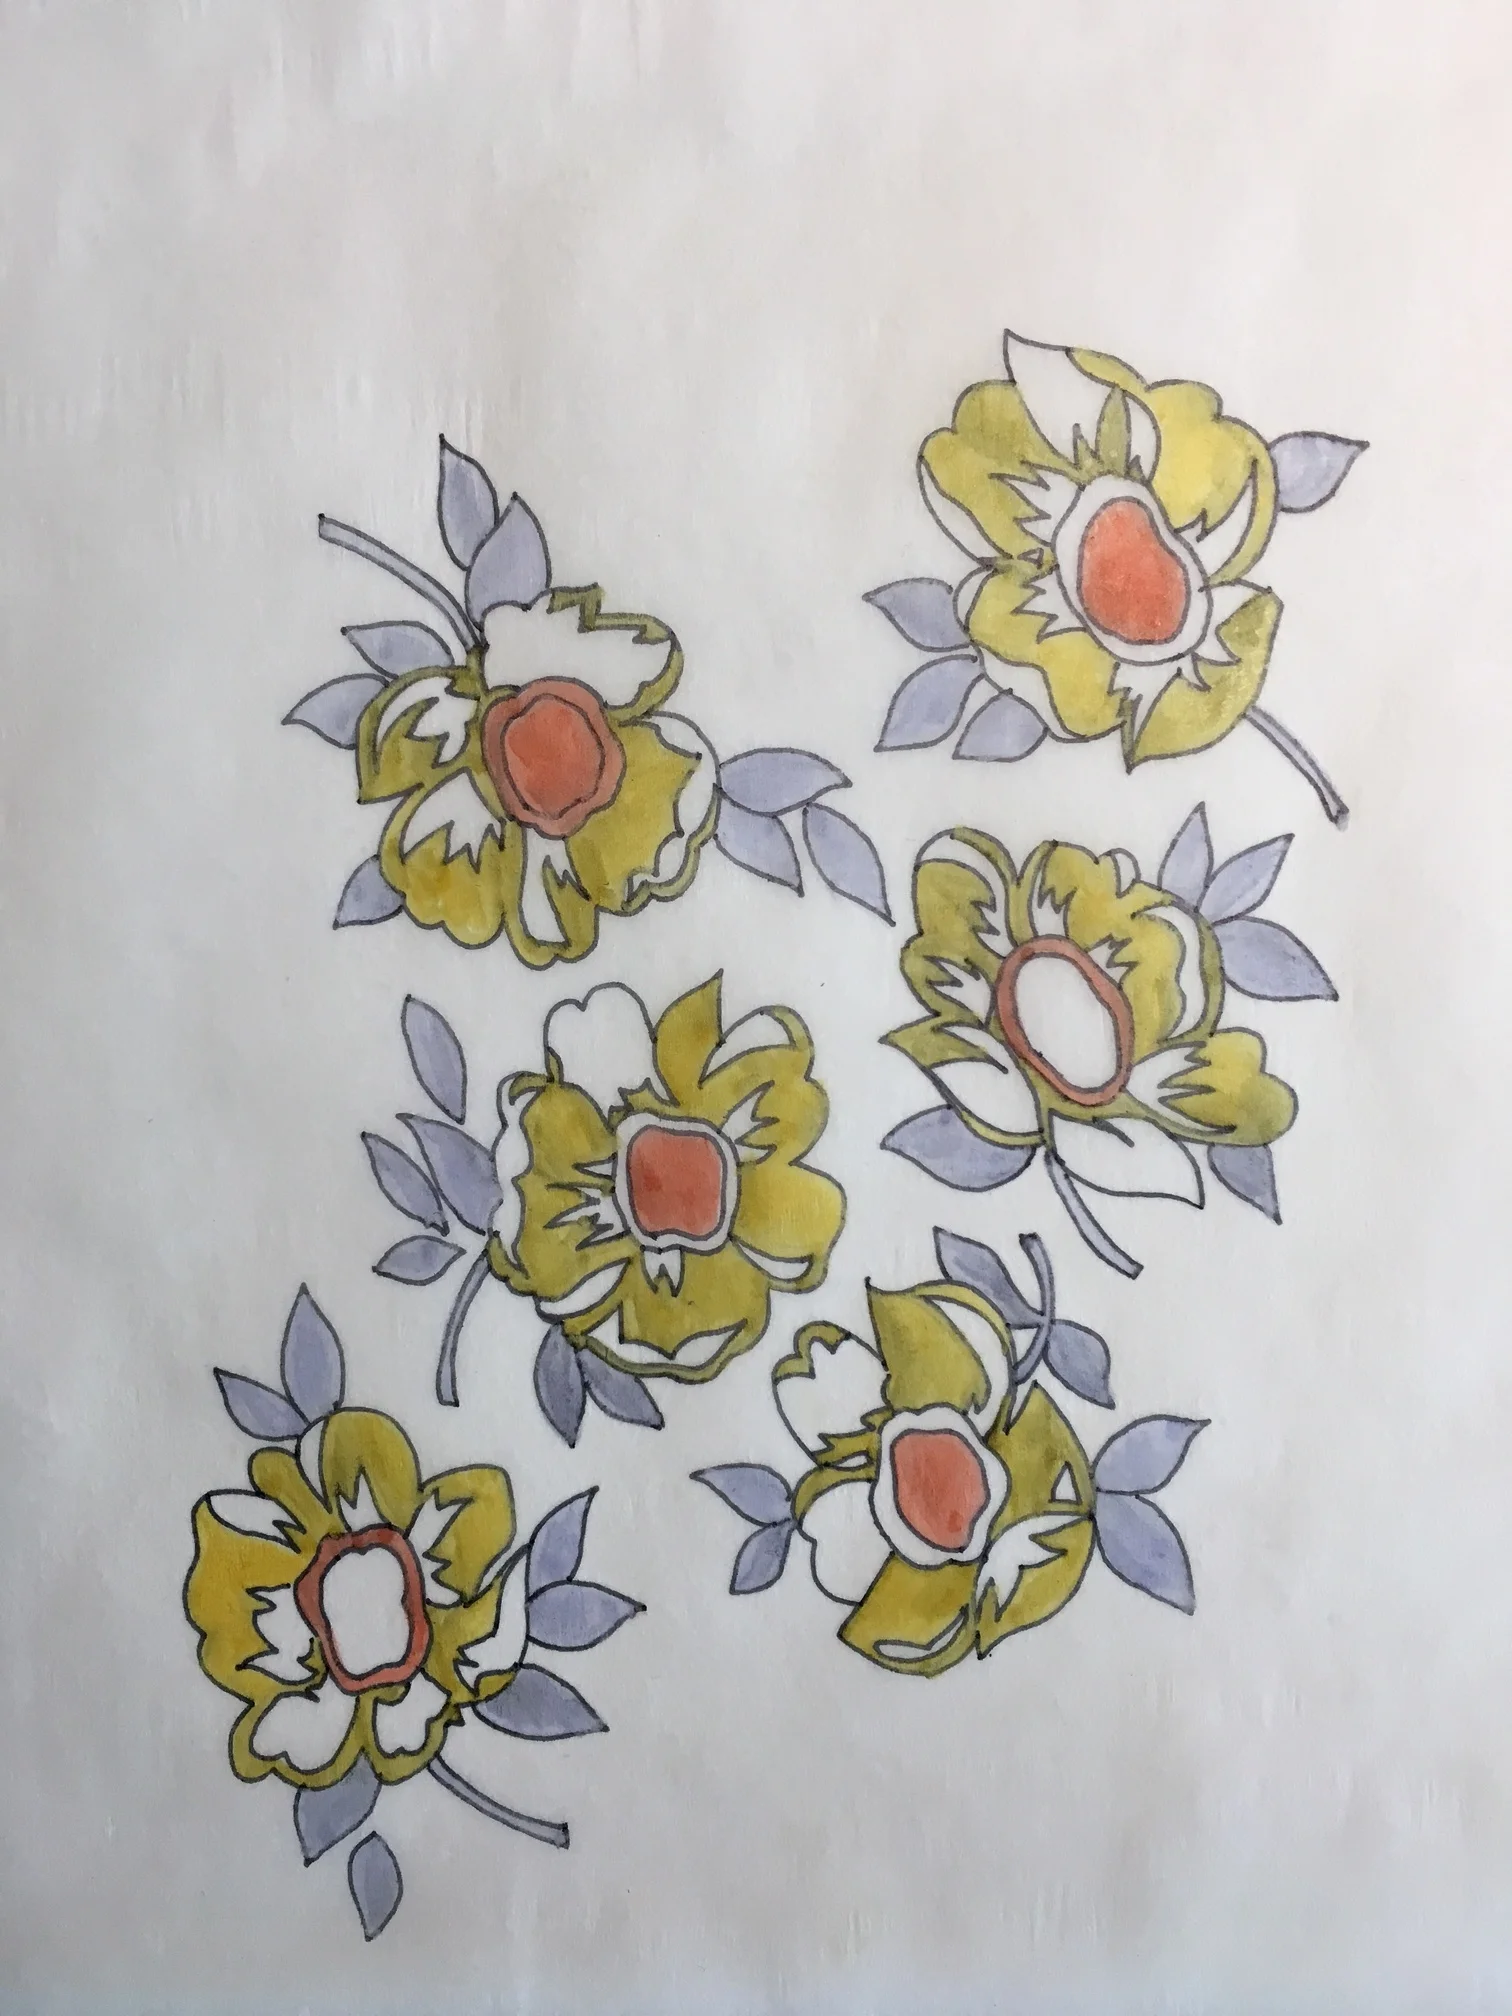
Because text is so colorful and so full of different exciting patterns, I wanted my design to be as full of all of those things as possible. I love using repetition and pattern in my work, and conceptually I didn't look much beyond the visual aspects of the text--there was just so much to look at! I drew inspiration from a couple different feed sack patterns I found within the book, both floral, and translated them into the cover design (top) and edge decoration (bottom).
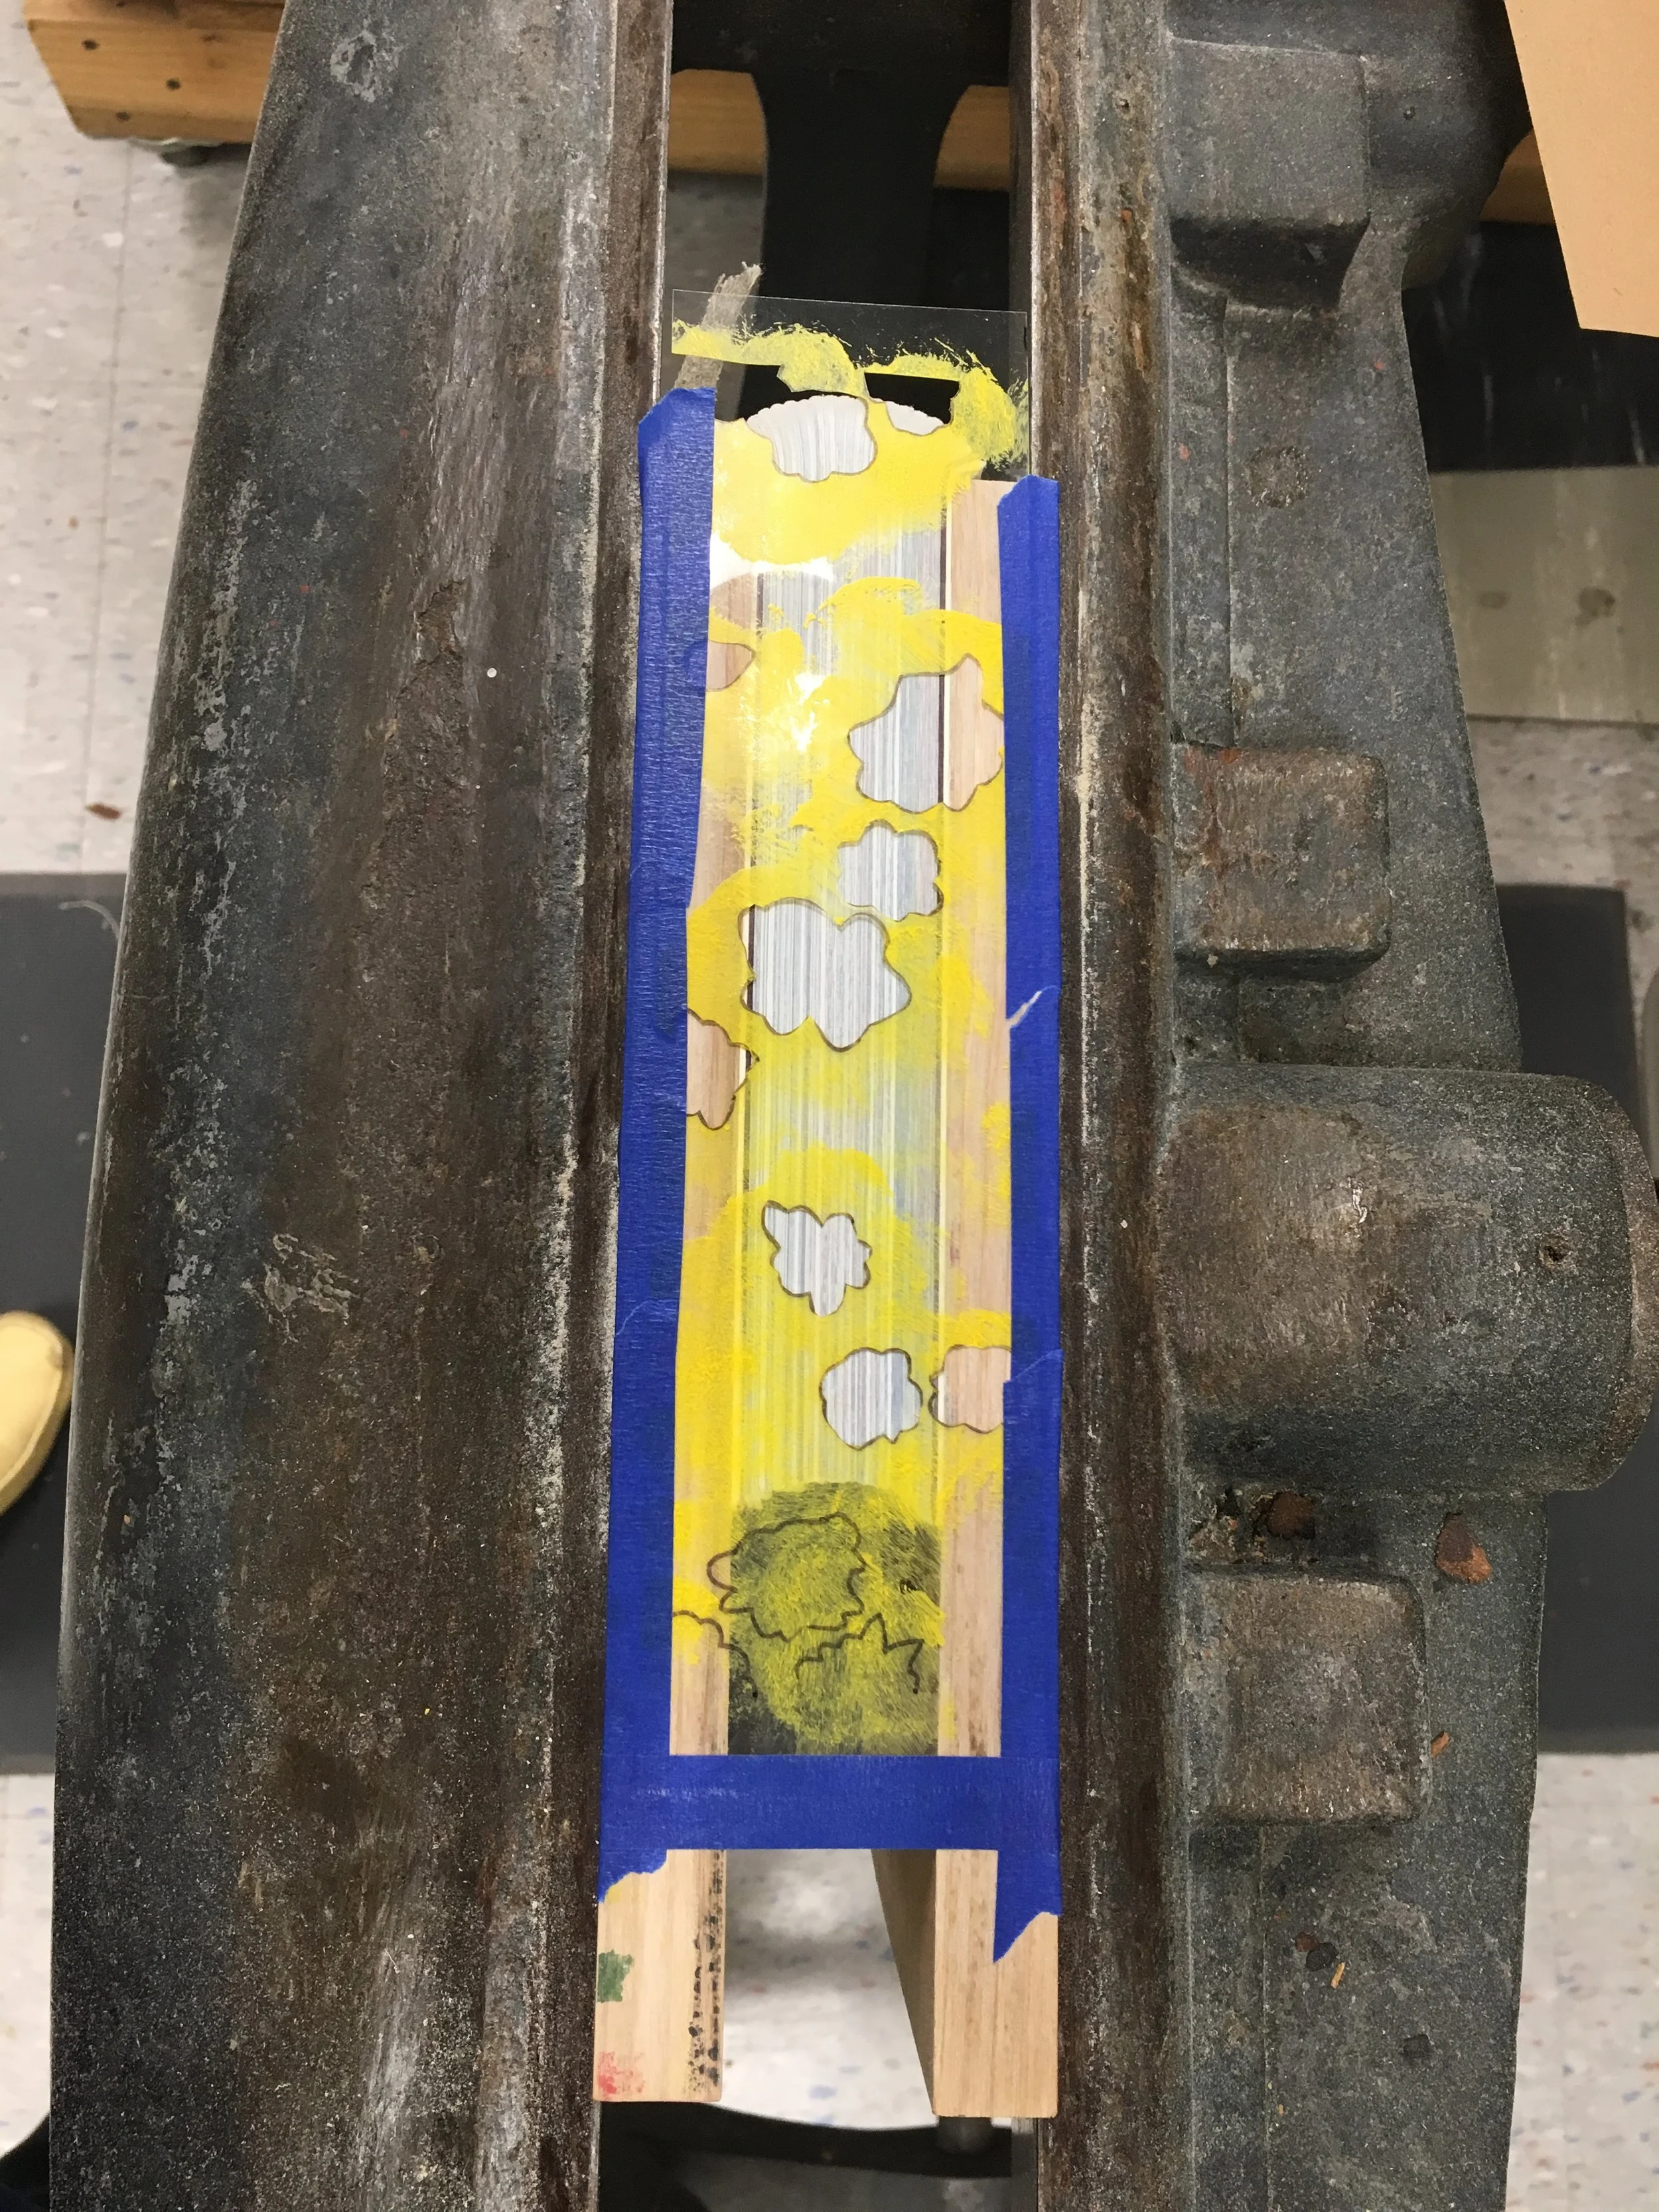
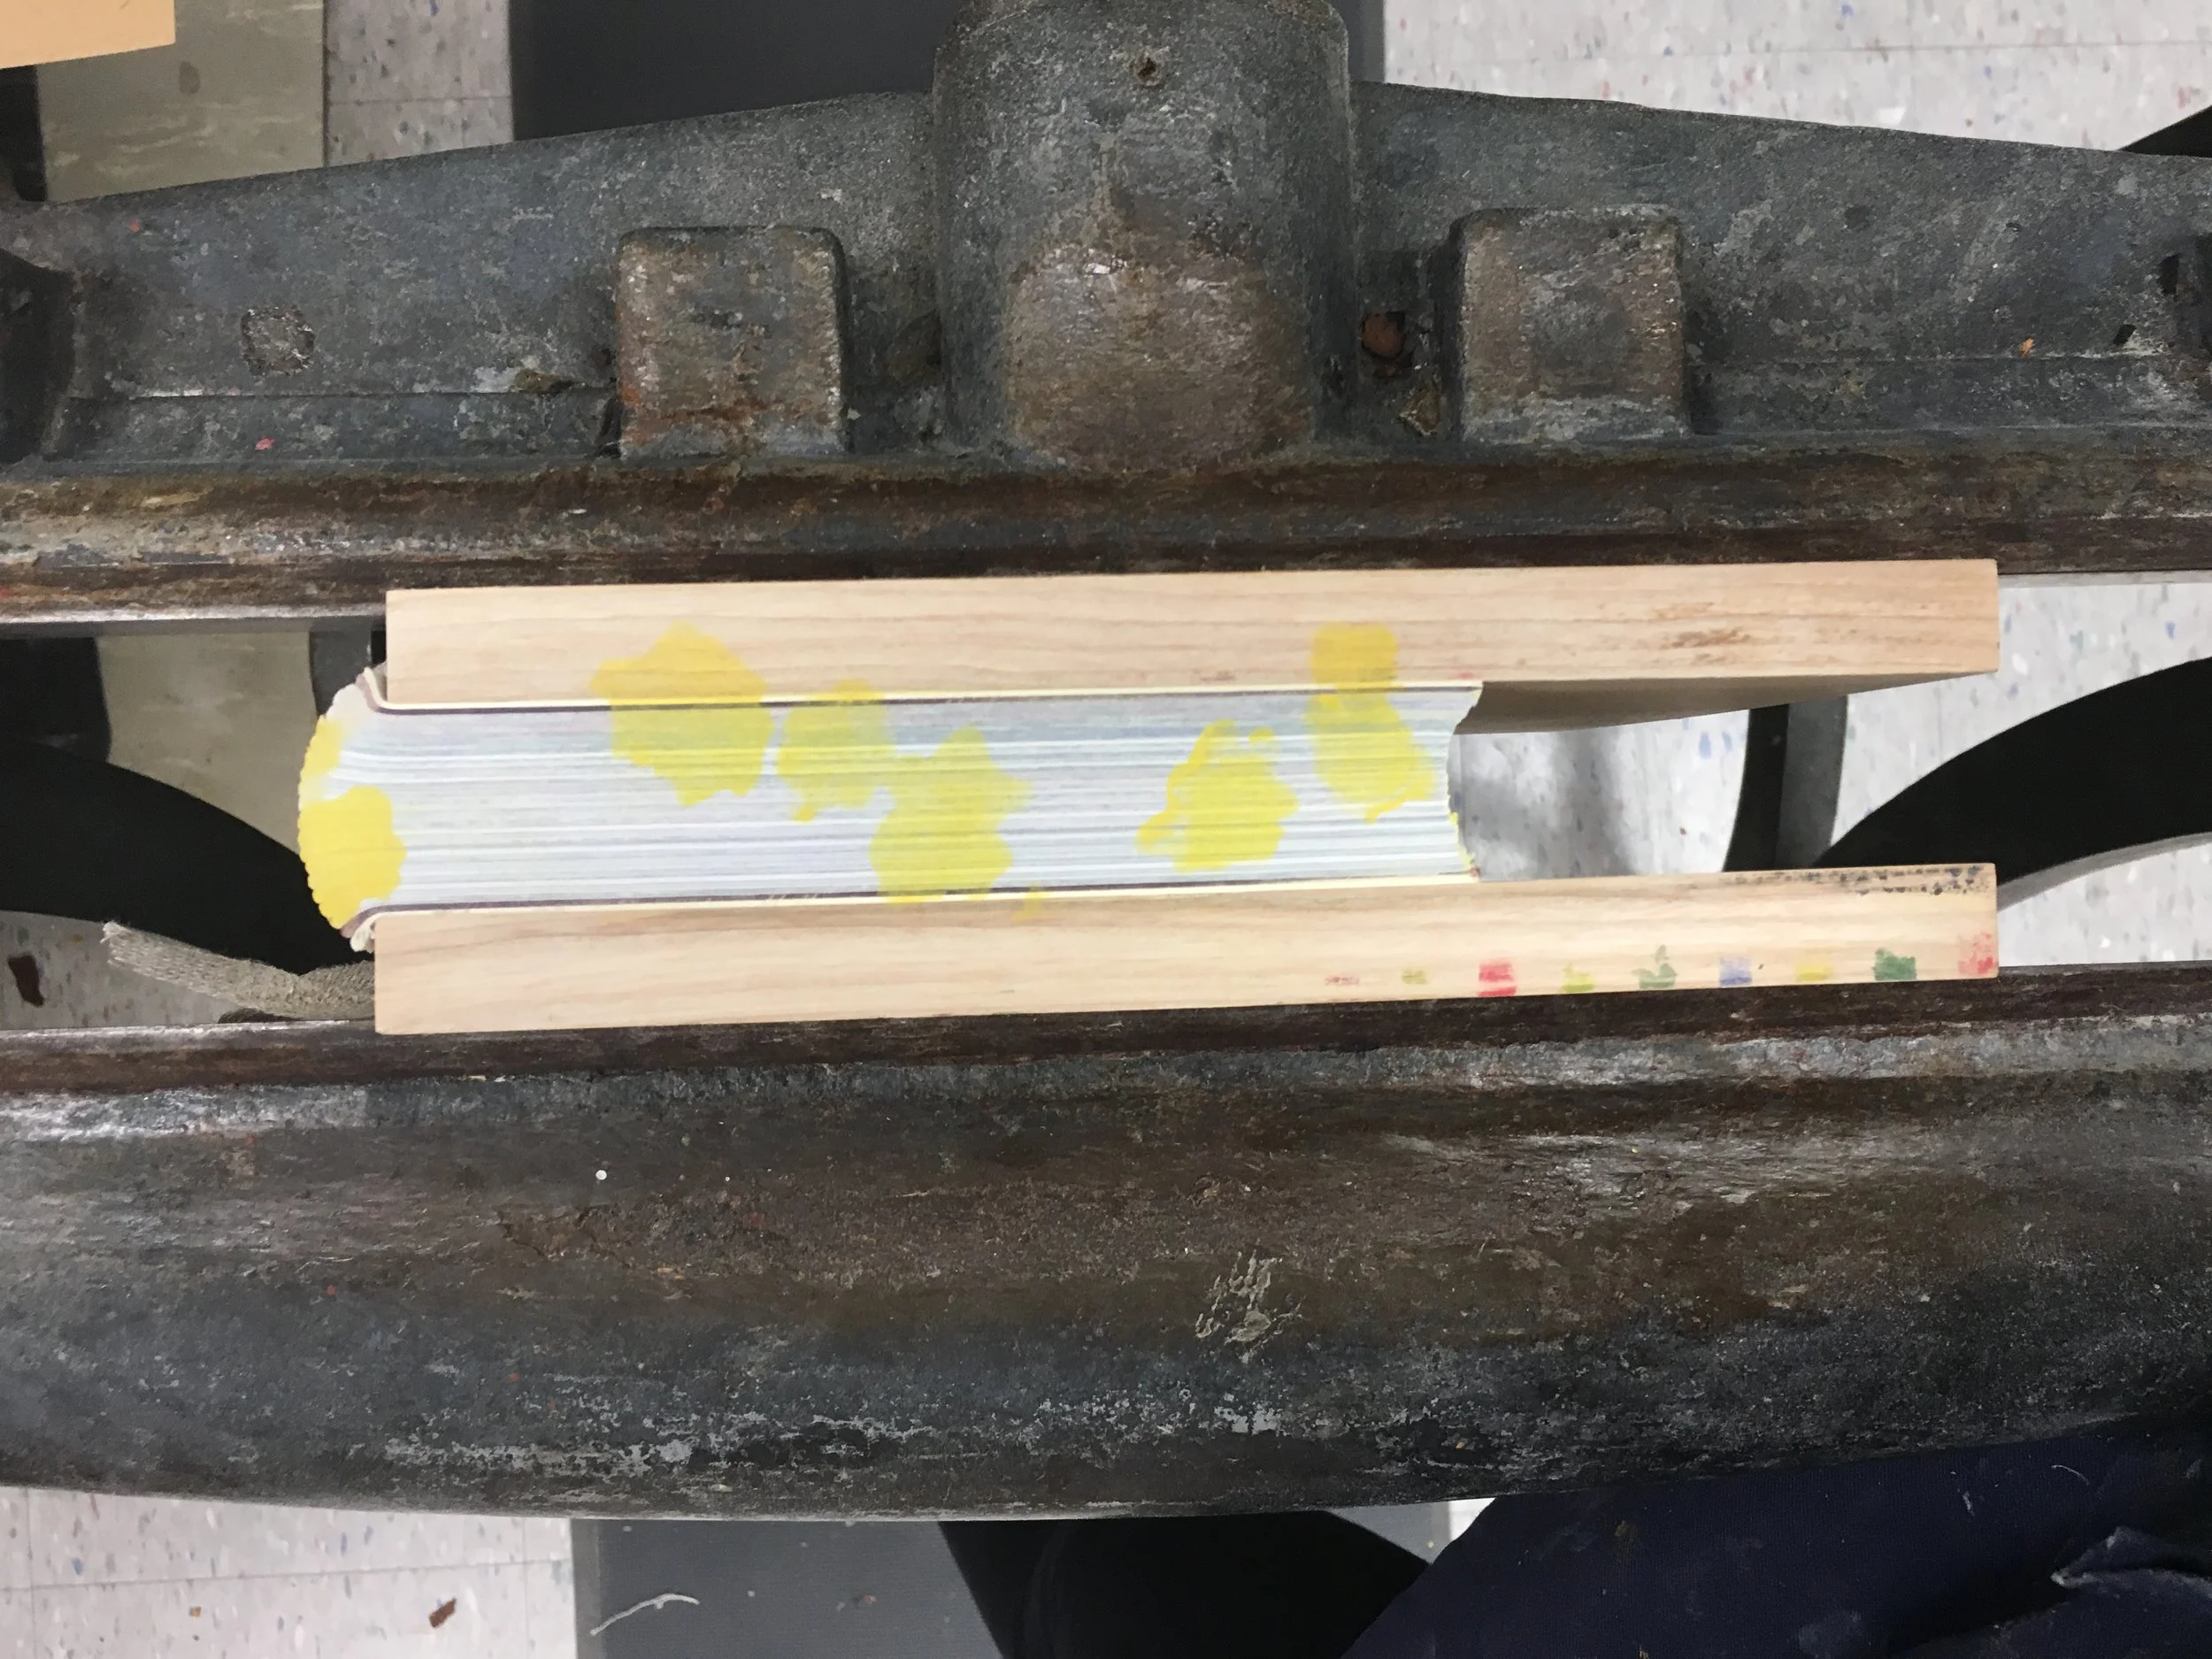
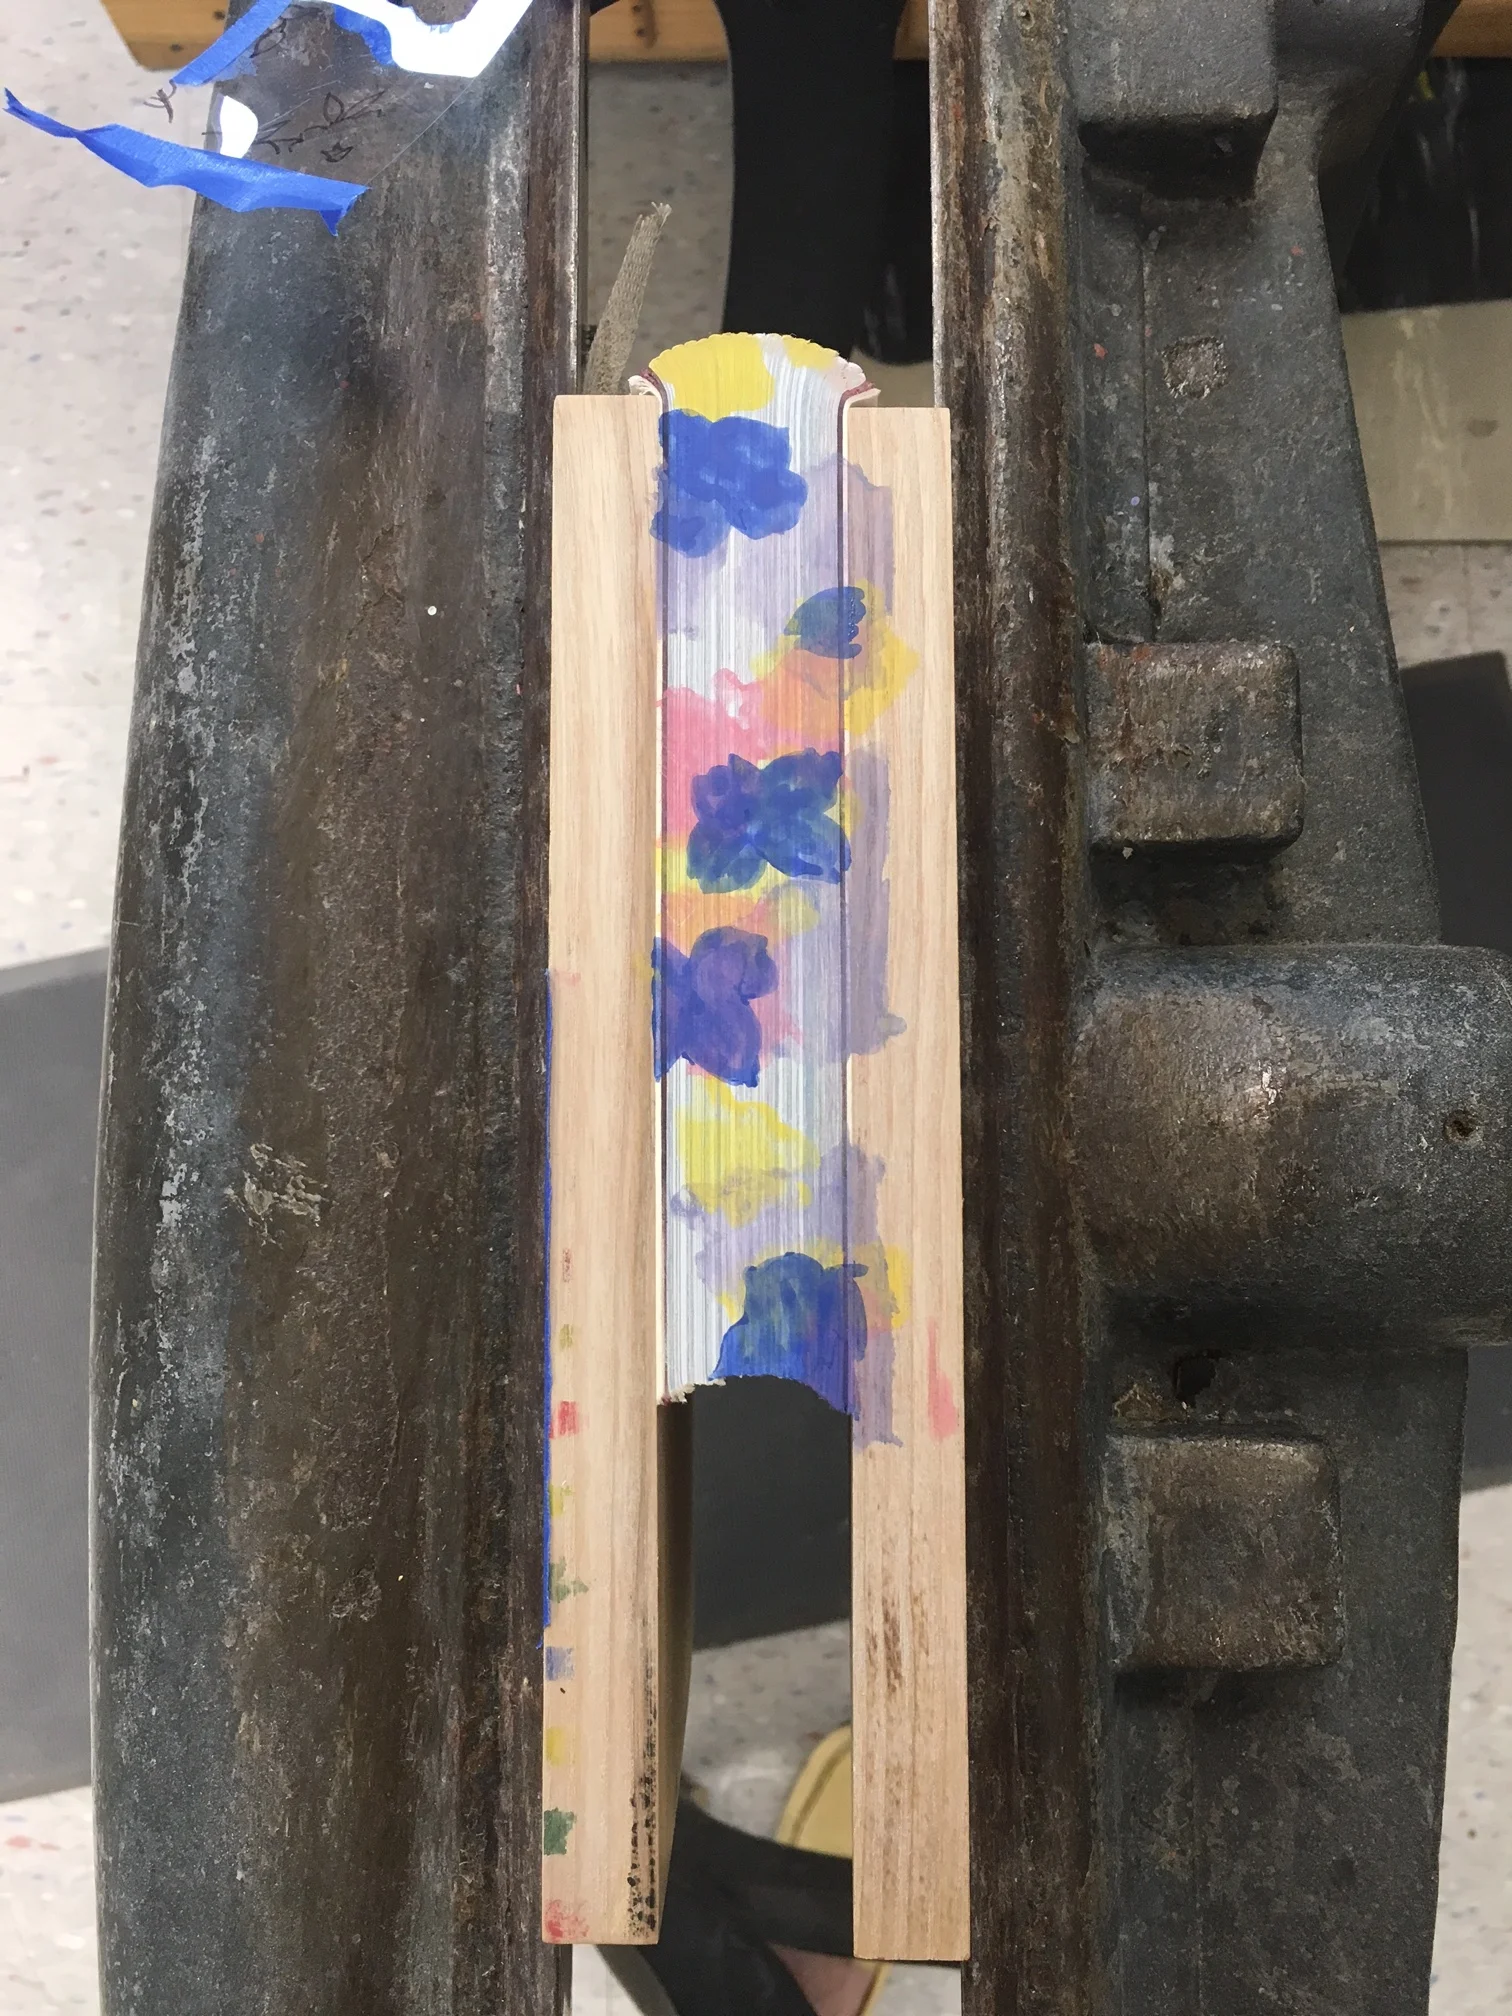
For the edge decoration, I created a few templates out of Melinex, one for each flower color and sponged acrylic pigment through them within a cotton ball.
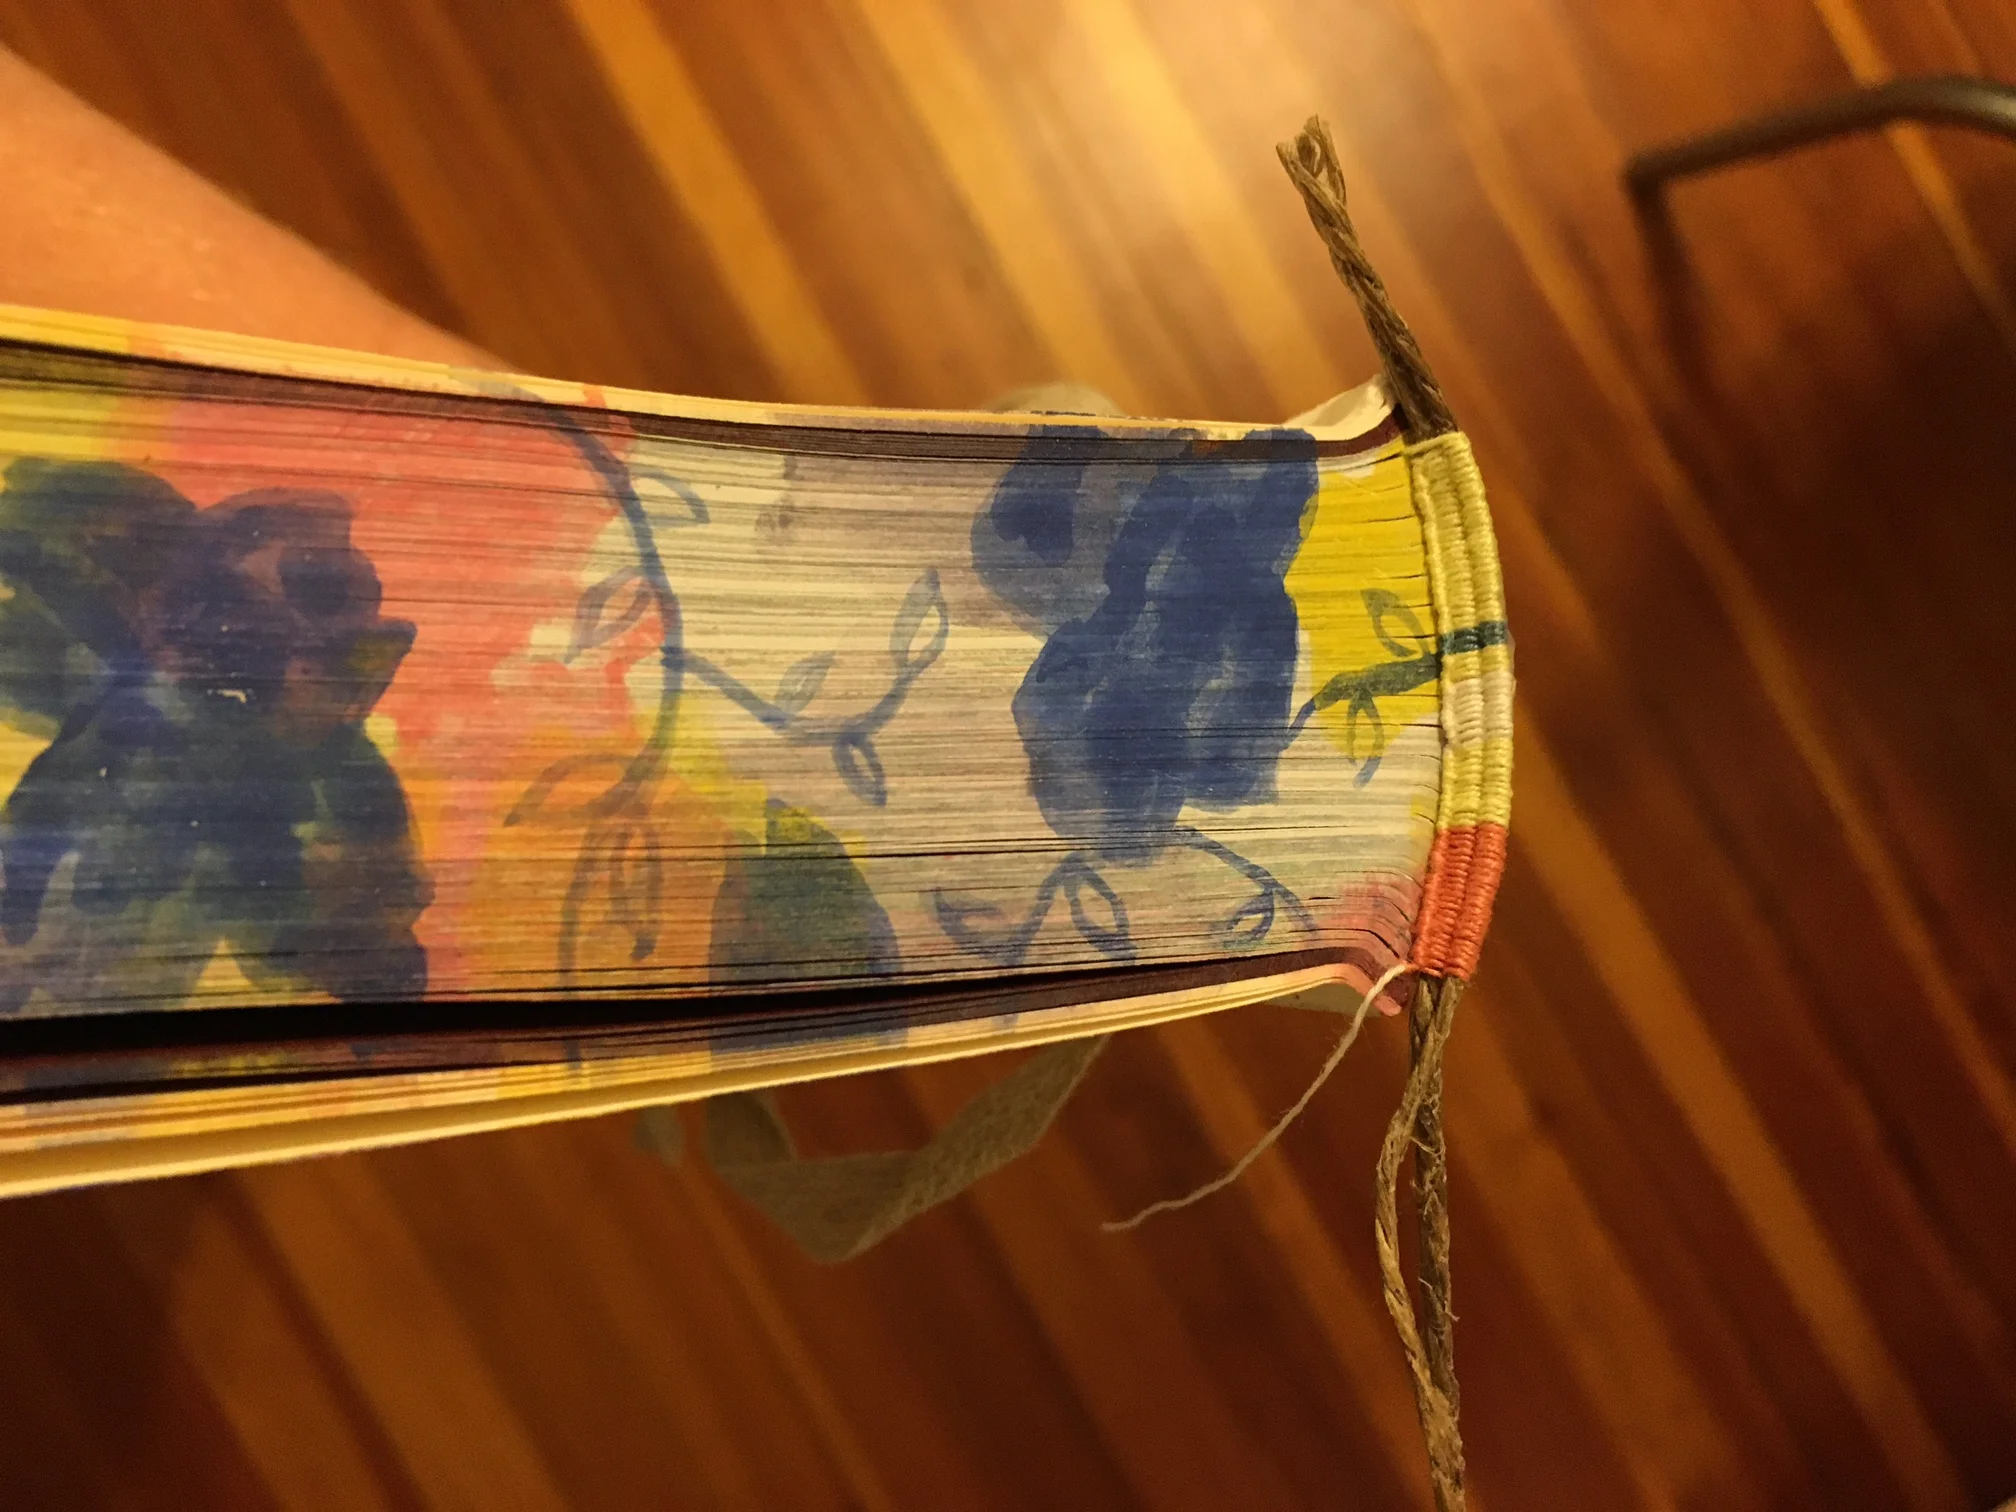
Next, I sewed a double core french headband in colors similar to those of the edge decoration. I wanted the top edge endband to more or less seamlessly transition into the edge decoration, a technique I've seen employed beautifully by other binders.
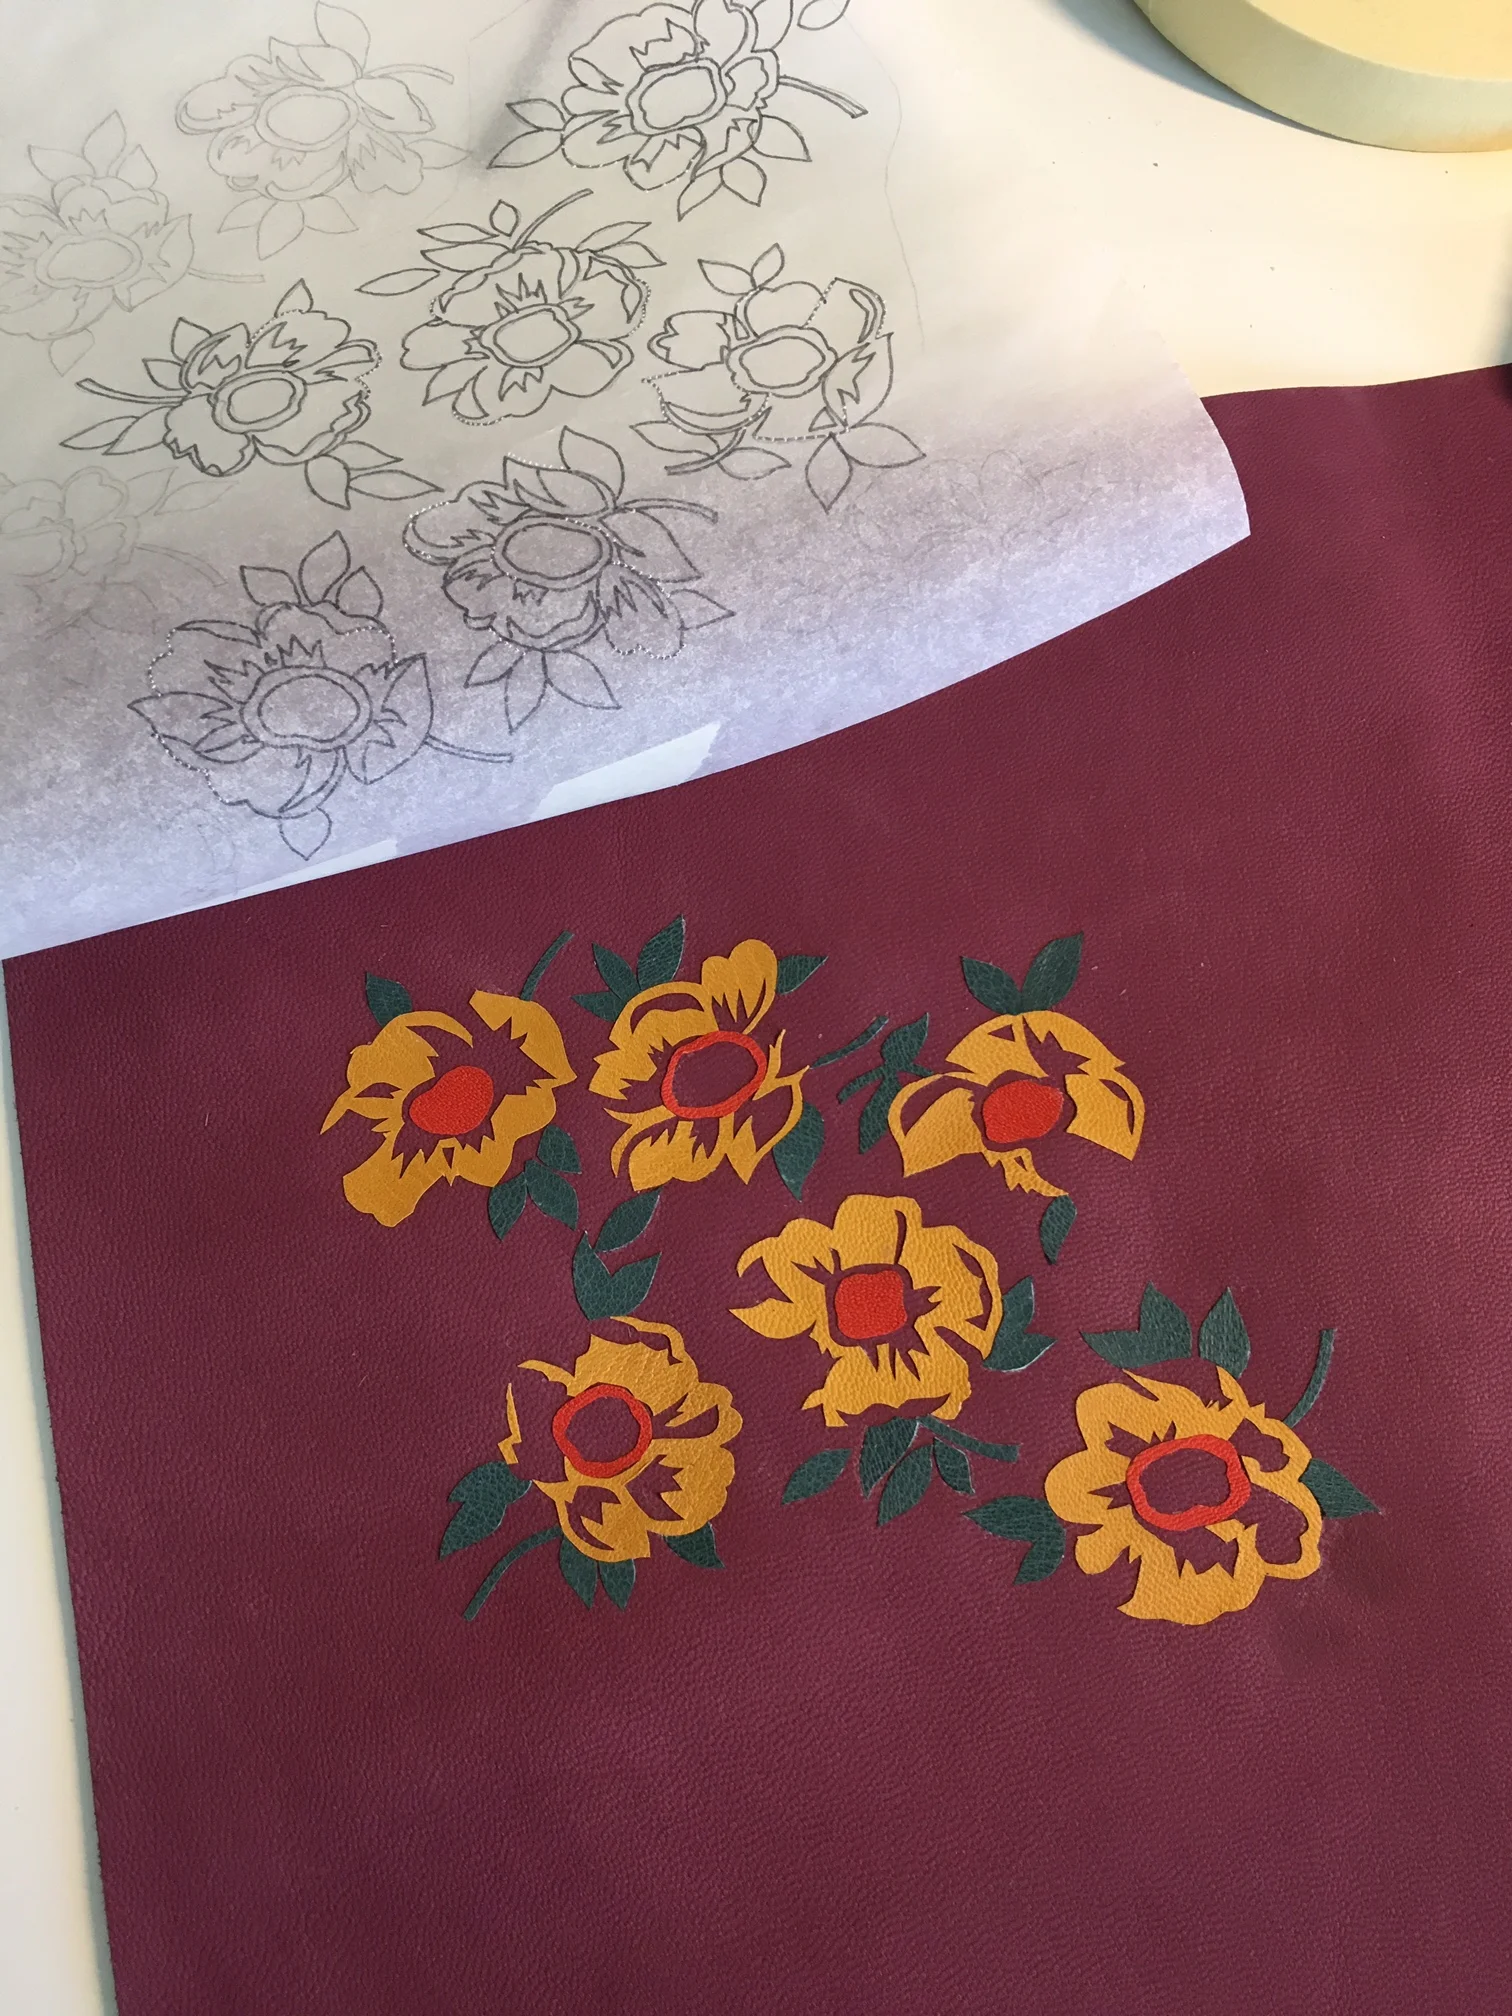
Then, after the rest of the forwarding was complete, it came time to work out the binding's design. I knew I wanted to mimic the second feed sack pattern using a combination of back-pared onlays and embroidery, so the first step was to transfer the pattern to tracing paper and block out the colors, so that I could cut out the onlay shapes.
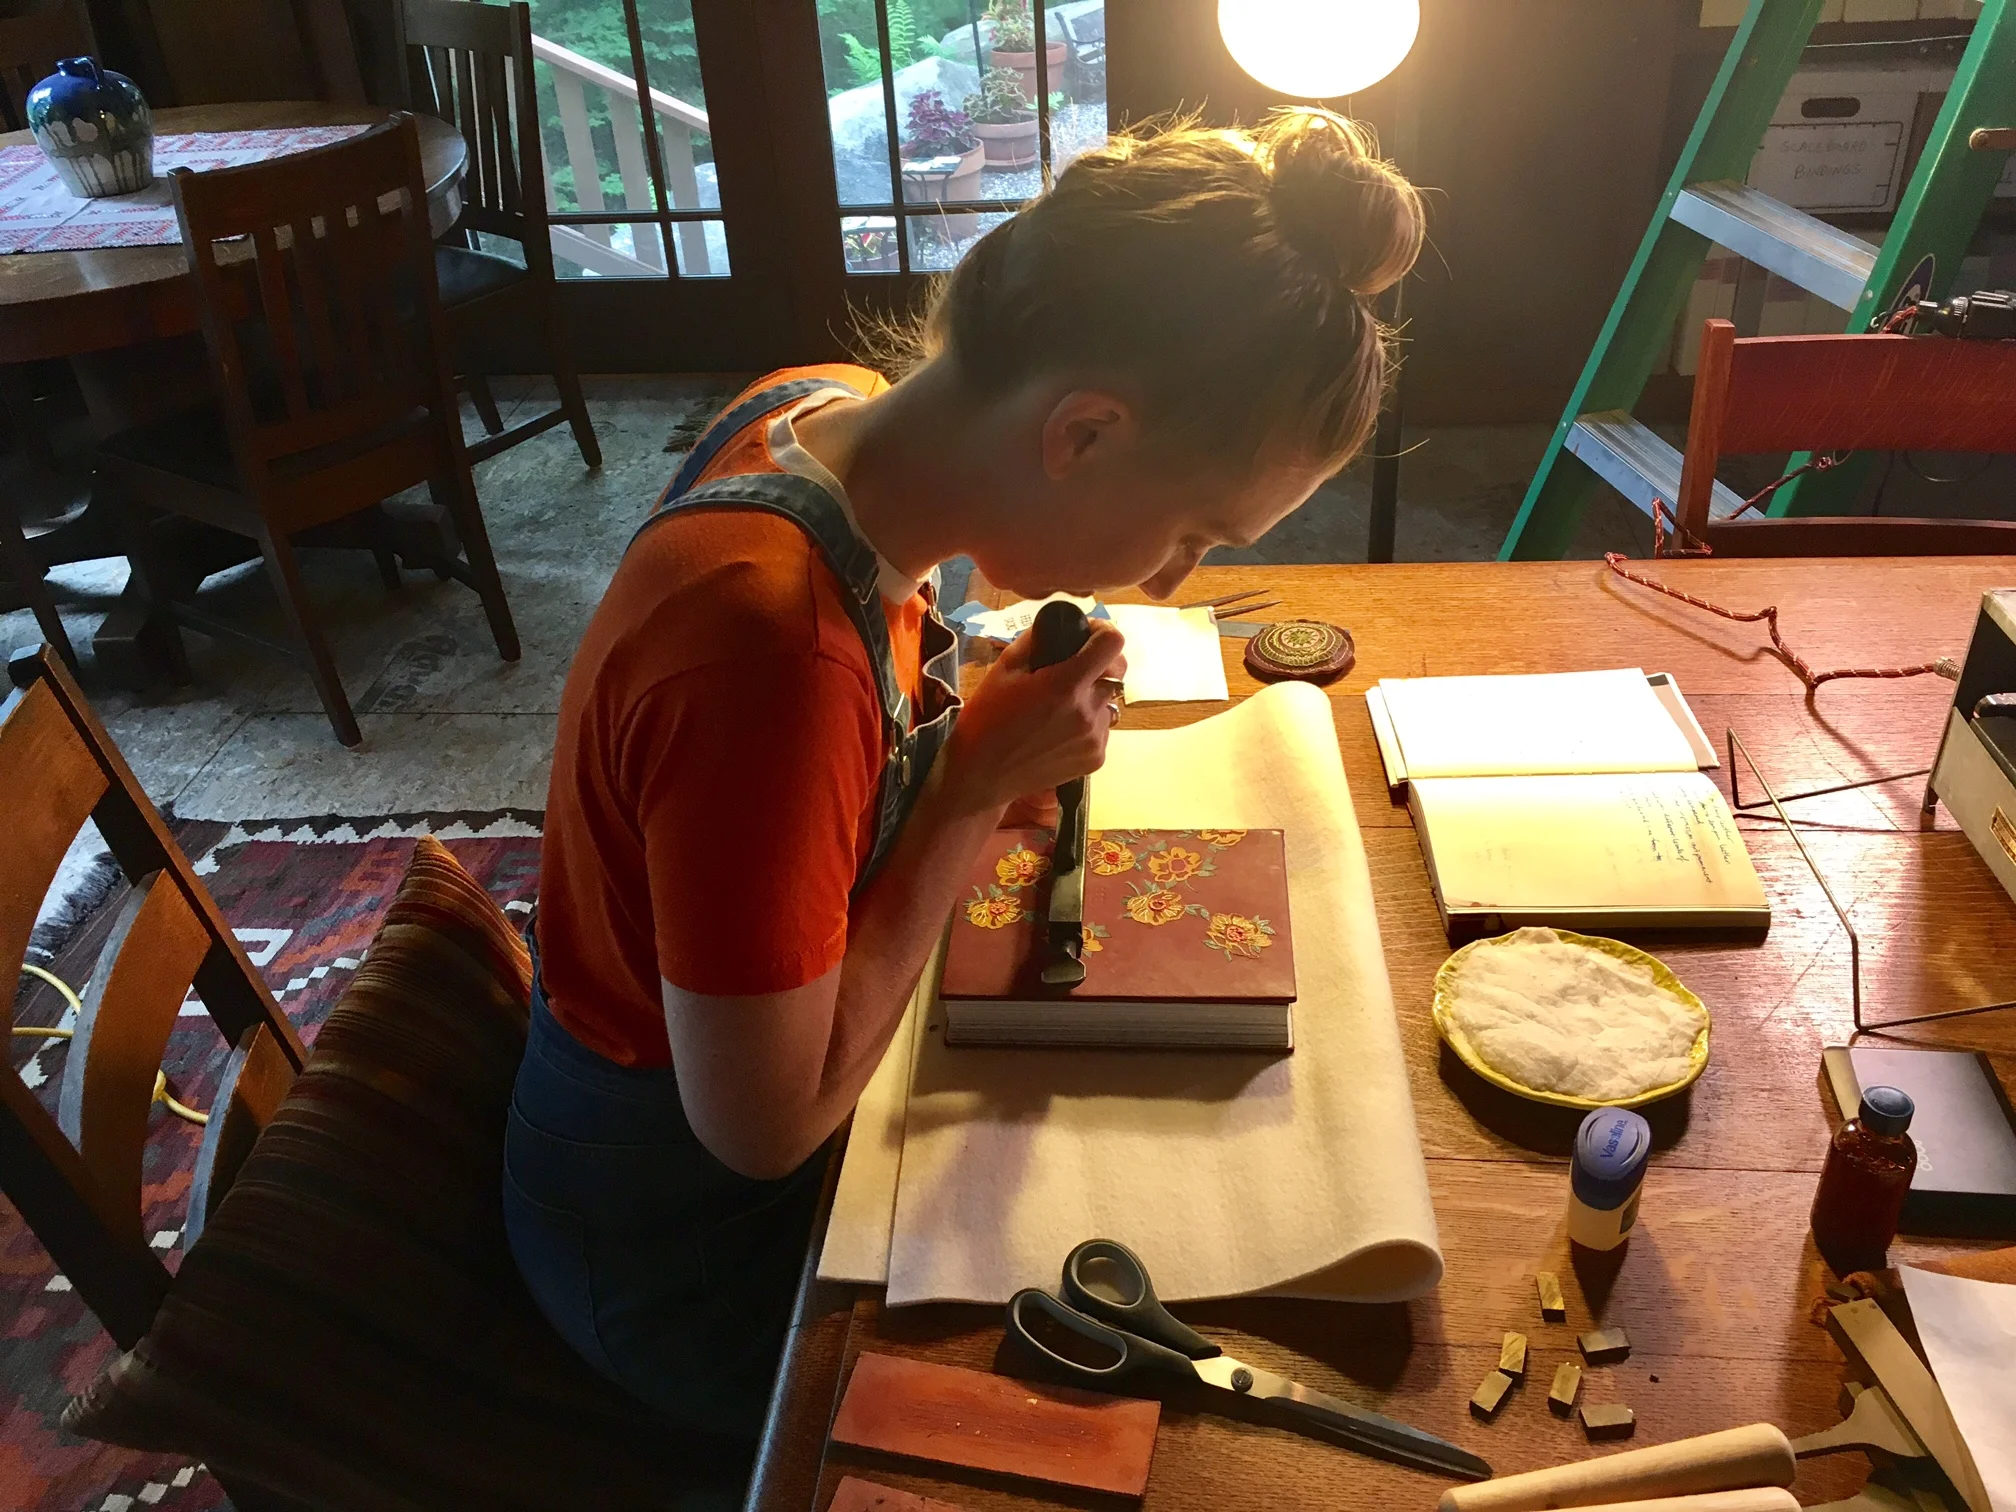
Then, after spending many hours with a scalpel and cutting mat, I began gluing the onlays in place, using the tracing paper pattern as a guide for placement. I glued the onlays day with PVA, thinking that they would be less likely to pop off during the covering process.... but in the end I still had to go back and readhere some edges. I also found the PVA to be fairly messy to use with all of my tiny, oddly-shaped onlays, so it seems like I still need to do some adhesive experimentation.
Then, the scary part! The back-paring... This process is what allows the onlays to sink down flush with the covering skin. If done well, they end up being hardly distinguishable from inlays. A result of both necessity and fear, I decided to use my round Peachey paring knife to slowly scrape away the raised flesh on the back side of the leather rather than taking it through a Scharf-fix. I unfortunately don't own a Scharf-fix, so I didn't have much choice when it came down to it, but I do feel like both the number and shape of the onlays would increase my likelyhood of tearing right through the skin if I had done the back-paring on a Scharf-fix. I was pretty happy with the result of the hand paring... although it made a huge mess in my tiny bedroom studio!
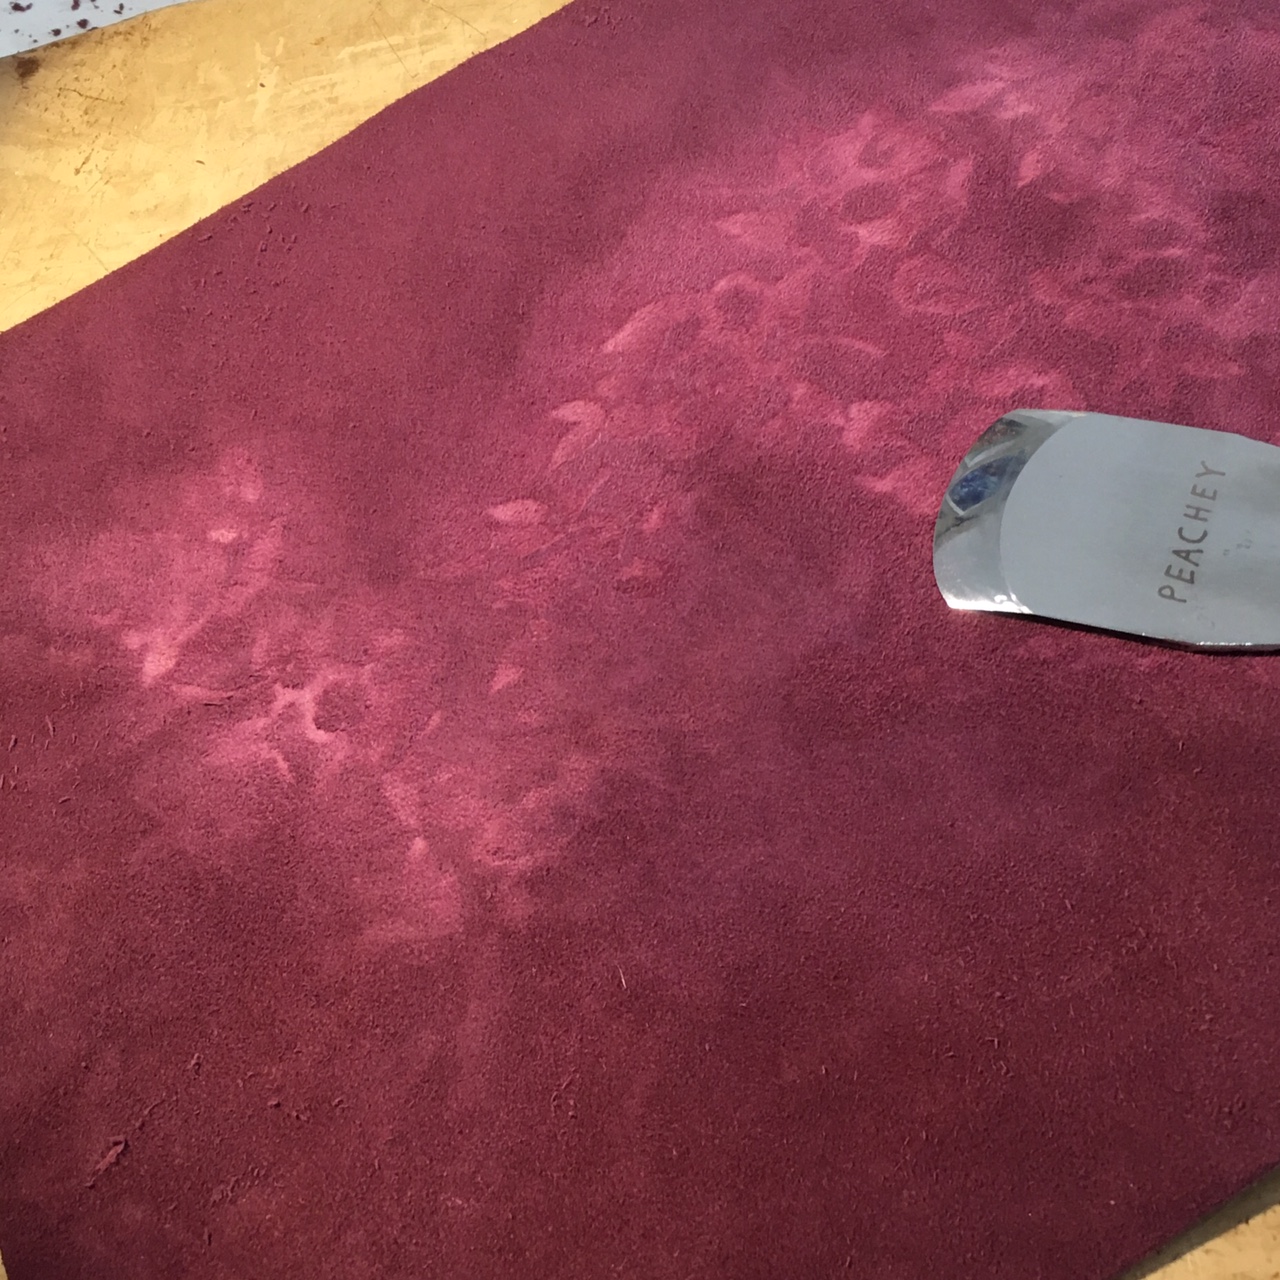

I love the ghost image you can see on the flesh side of the leather after back-paring!
Finally the piece was ready for embroidery! I chose the same threads that I used to sew the endbands with, and did a few simple stitches (backstitch, chainstitch, and french knots) to embellish many of the flowers. I pierced the holes in the leather prior to stitching to keep the stitches more or less even. This is always the most time-consuming part of a fine binding for me... Since I'm still relatively new to embroidery (and especially embroidery on leather), I'm a very slow stitcher. I decided to leave a few of the flowers un-stitched to keep the design from looking too homogenous (but this turned out to be a good time-saving measure as well).

Almost ready to cover! Before gluing the leather up, I made sure to trim all the loose thread ends as close as possible and fray out whatever remained, so that I didn't end up with any ugly bumps showing through the cover. This is also important to keep in mind when working the embroidery. I try to take the time to cut my thread and start a new one when going from two spots that are relatively far apart with the same color, because the resulting span of thread behind the skin could easily show through after covering. It takes more time but is worth it in the end.

I used my awl to fray out the thread ends.
And then I was ready to cover! The covering this time was tricky, because as I mentioned, I did end up having problems with onalys popping up, and I also tried hard not to squash the embroidery in the process of maneuvering the book around (something I still haven't figured out how not to do very well). Rather than wetting up the skin like normal, I misted it out to avoid agitating and discoloring the embroidery. This is a tip I learned from Hannah Brown's excellent article on embroidery on leather for the Society of Bookbinders.
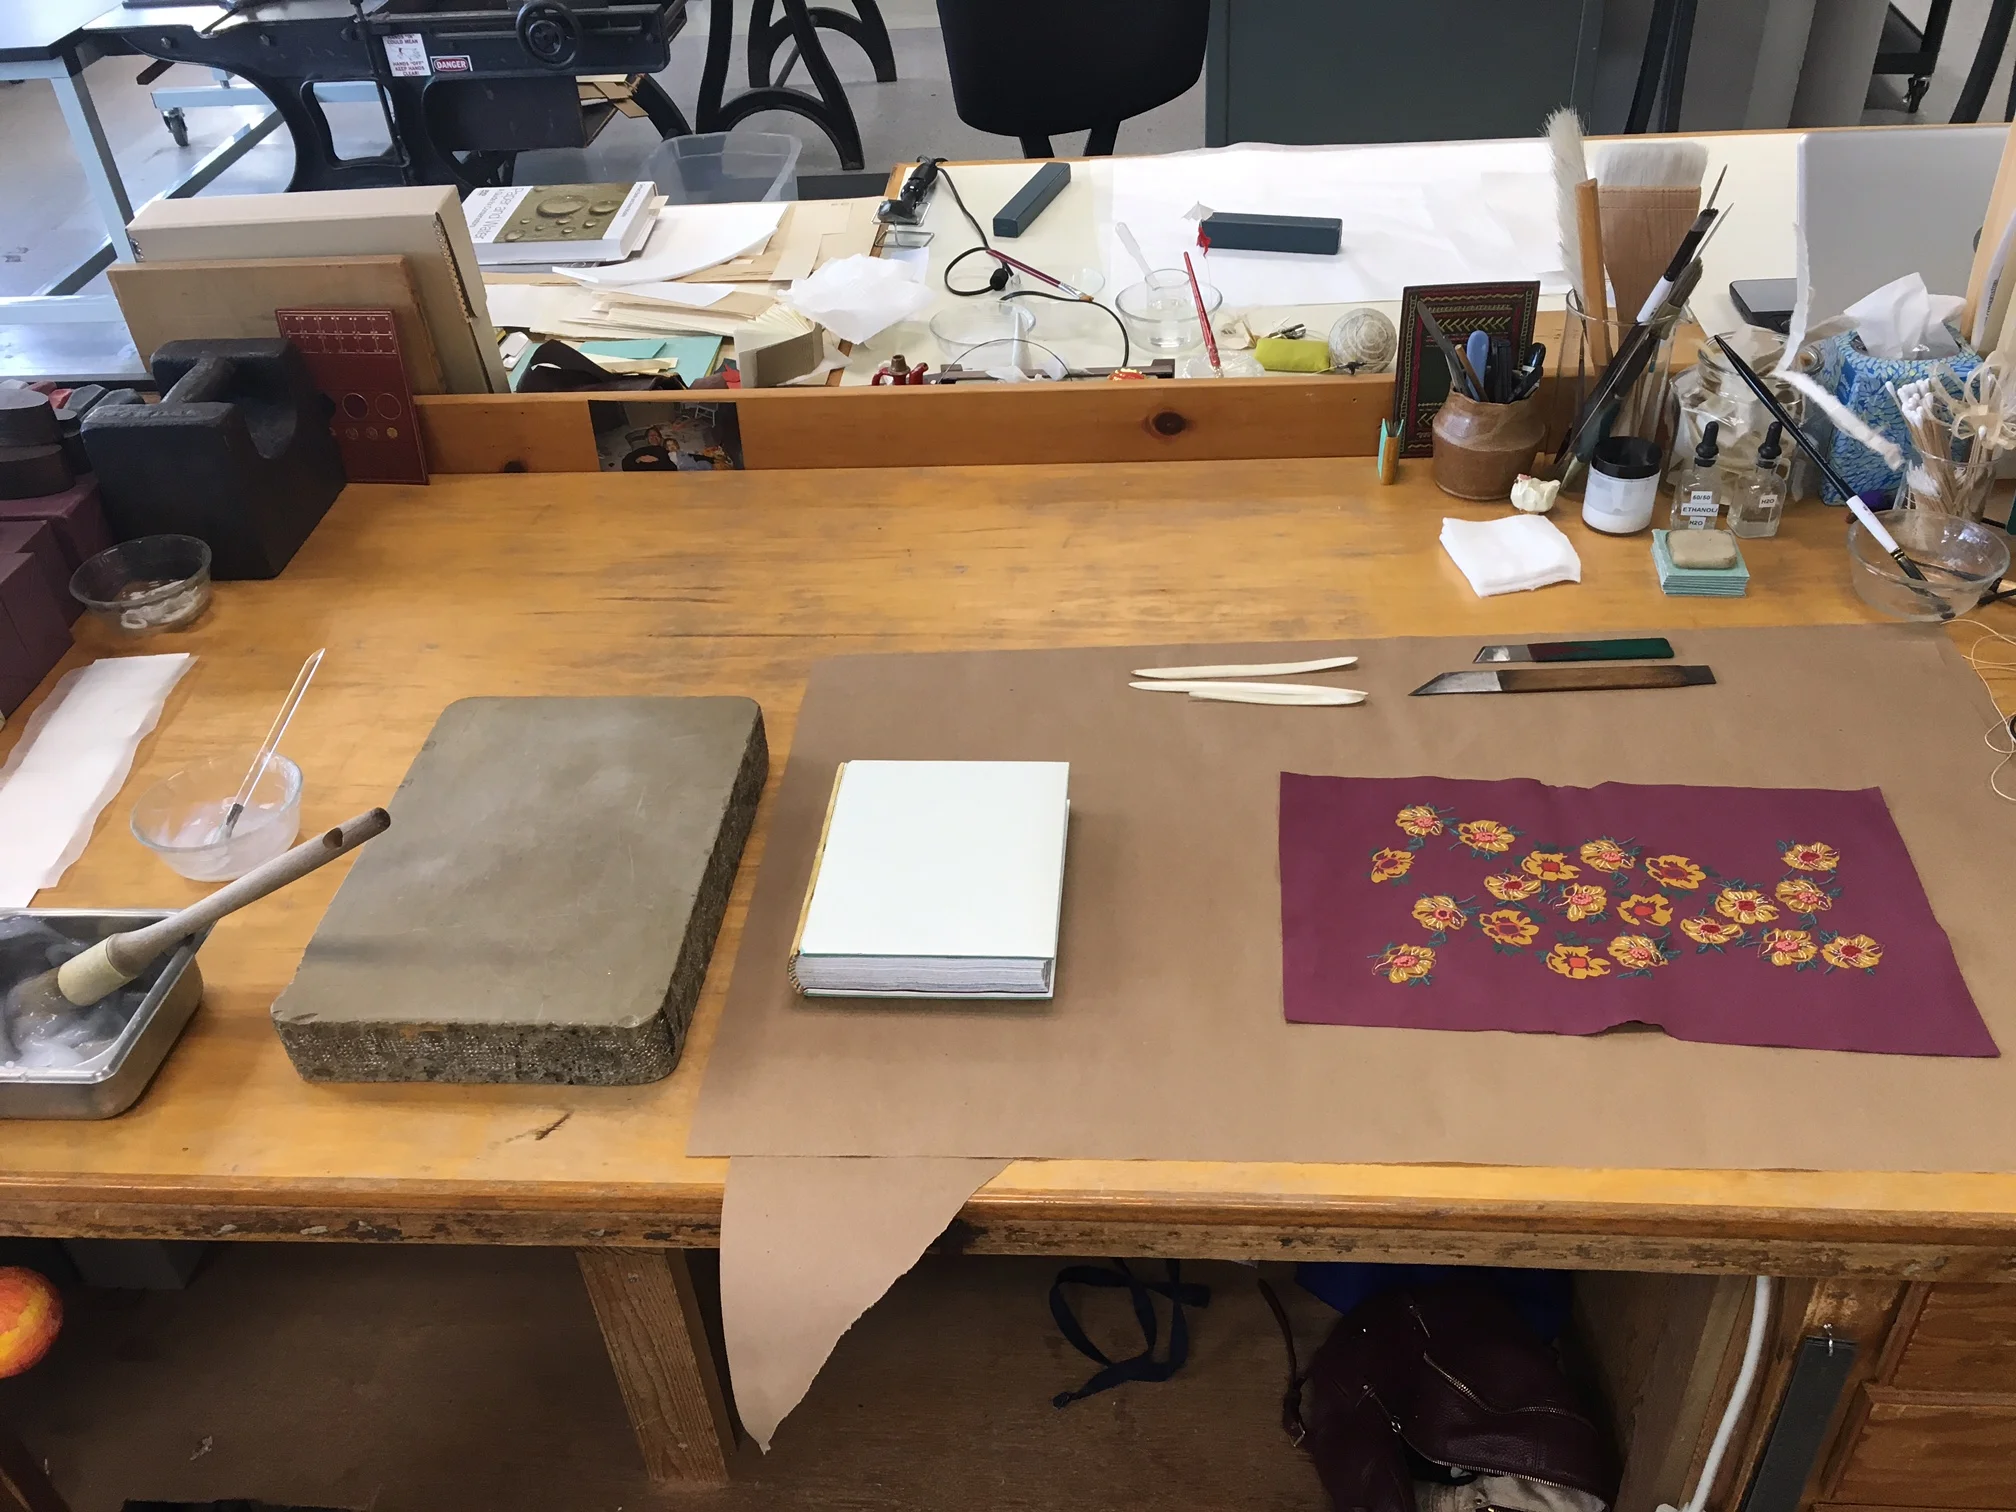
My bench set up before covering. You can see my paste, a litho stone, the binding (which I still had to cap up!), a few bone folders useful for forming headcaps and corners, paring knives, and the covering skin.
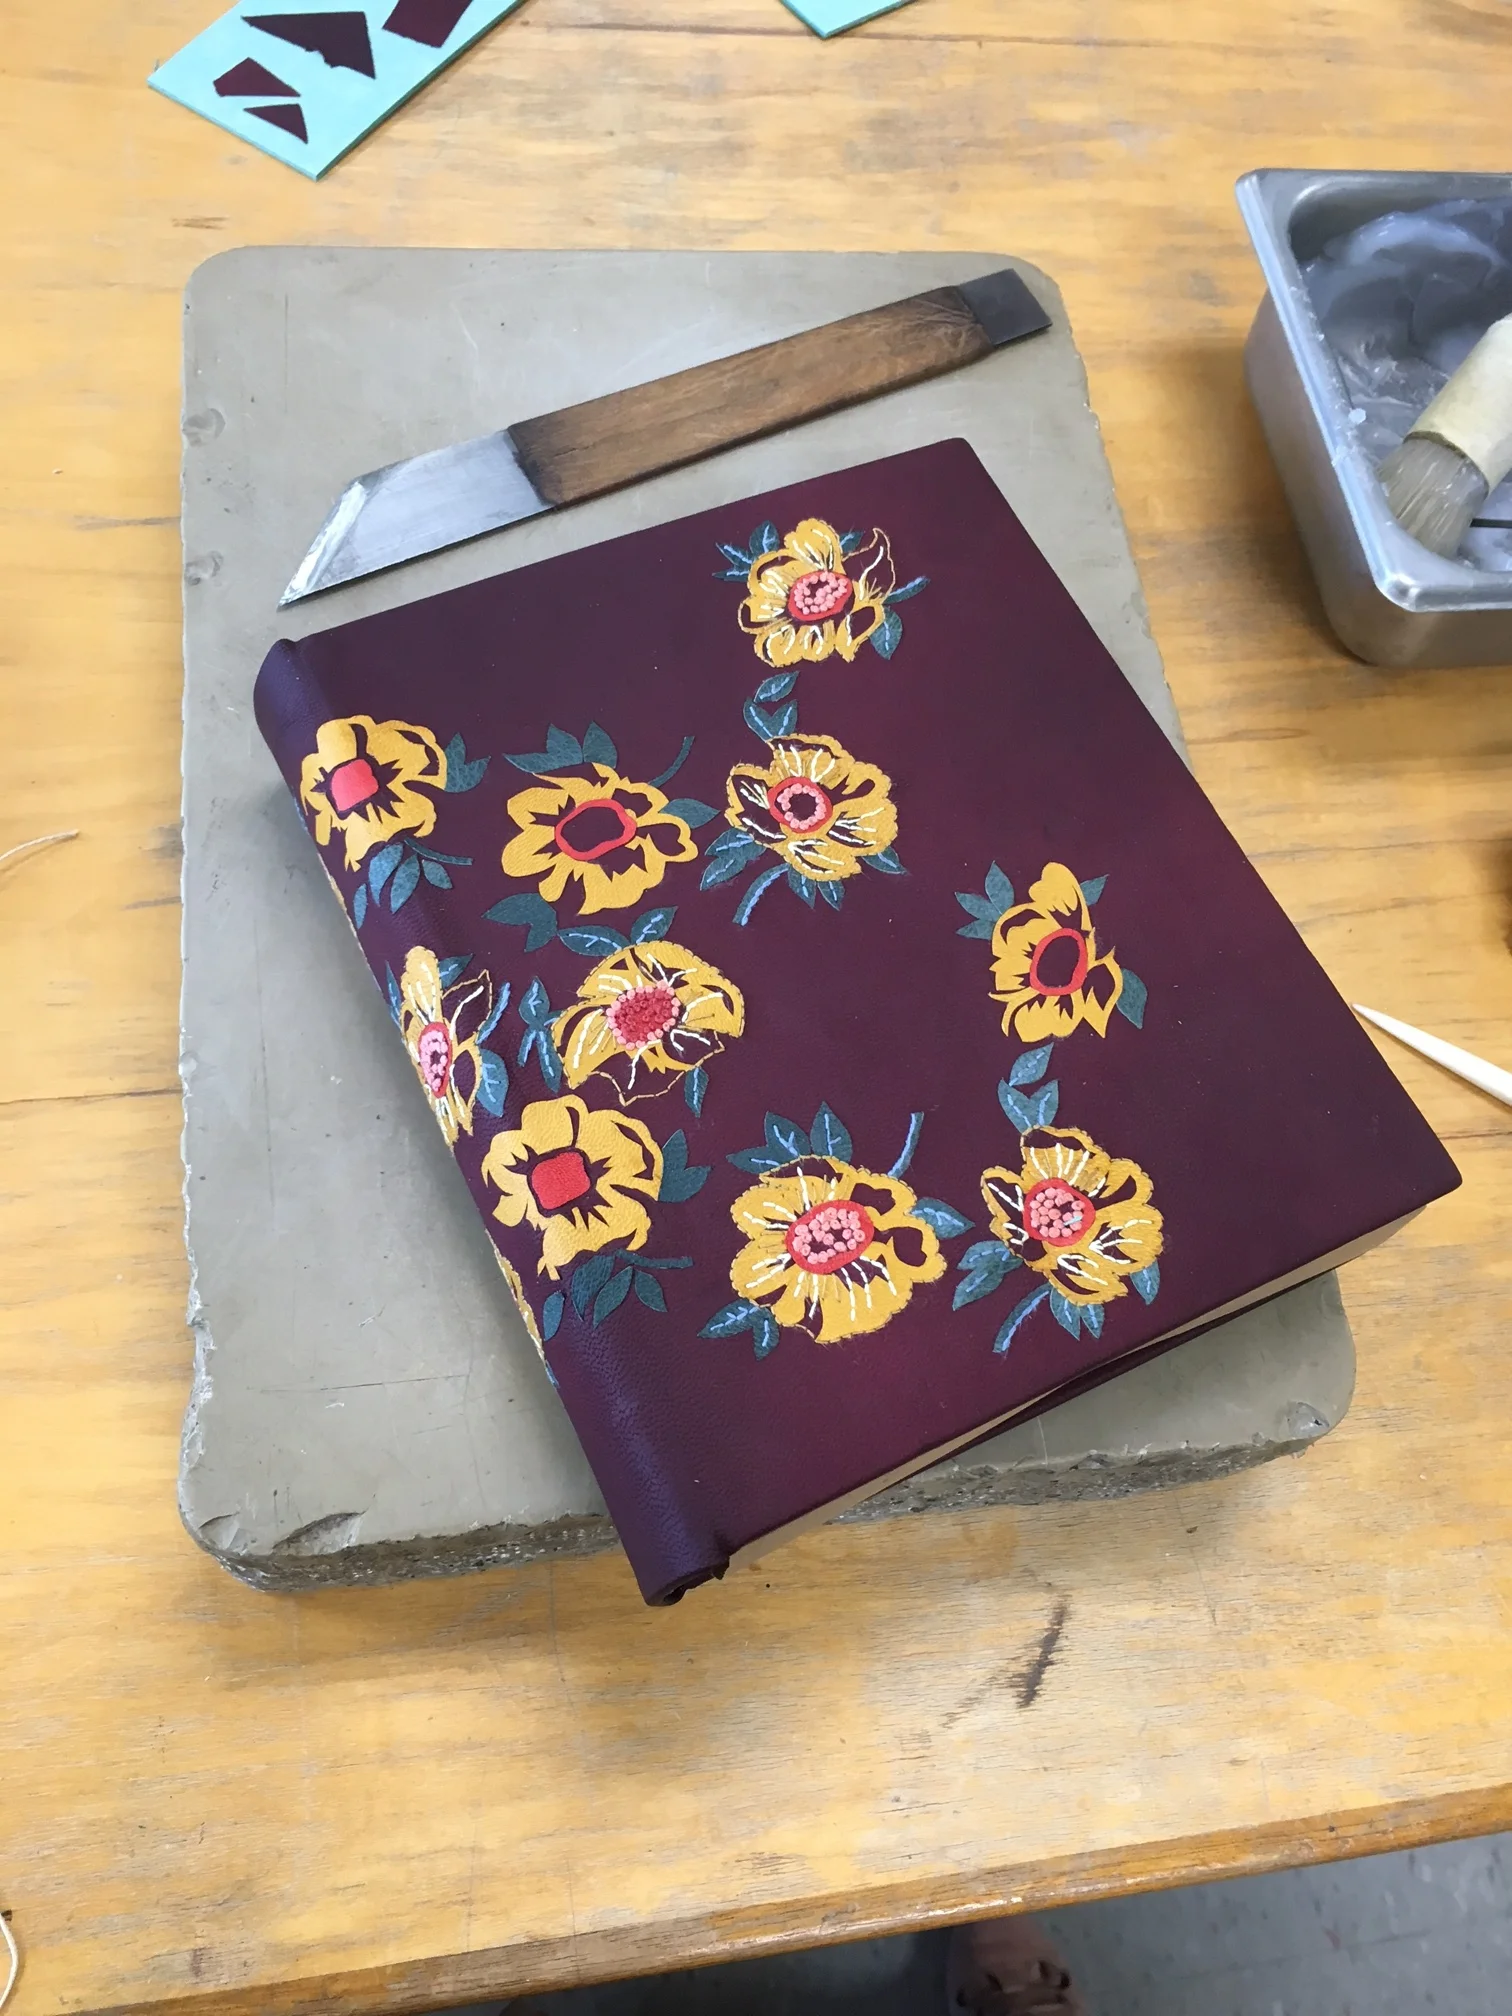
The binding just after being covered. Still wet and very fragile!
After spending quite a while drying between felts, I infilled the boards for doublures. Once I was satisfied with how the boards were cupping, I was able to do the titling. I decided to try my hand at gold tooling, since it had been almost two years since my last attempt, and I know the skill is easily lost without practice. Todd was nice enough to invite me up to his beautiful house in Maine to complete this step of the process, since he has a pretty extensive collection of type that I was able to use. I chose a sans-serif font similar to ones I saw on some of the feed sack designs for my titling. I had ambitious plans to tool more than just the title, but those two words took me all day to lay out and tool, so I decided to scale my design back a bit. I'm glad I did it though, and the process reminded me how important it is not let certain skills perish from neglect!
My tooling set up: tissue for creating the layout, my tooling notes from school, a cotton pad for cooling of my tool, a sweet french stove that Todd lent me, fixor, type, suede pads for cleaning of the tools, and my book.
I unfortunately forgot to take any pictures of the doublures in progress, but this was the last step of the binding. I embroidered a flower on each of the paper doublures, which turned out to be a little more challenging than embroidering on leather. The bugra paper I used was pretty sturdy, but I still had to be very careful not to tear or crease the paper. I also had to test the paper to see how much it would expand when wet before paring the edges to fit the inside of the boards. Luckily this paper didn't expand much at all, so I was able to fit it and pare exactly to the size I needed it to be when attached to the book. This is my second time using paper for doublures instead of the traditional leather, and I quite like the look!
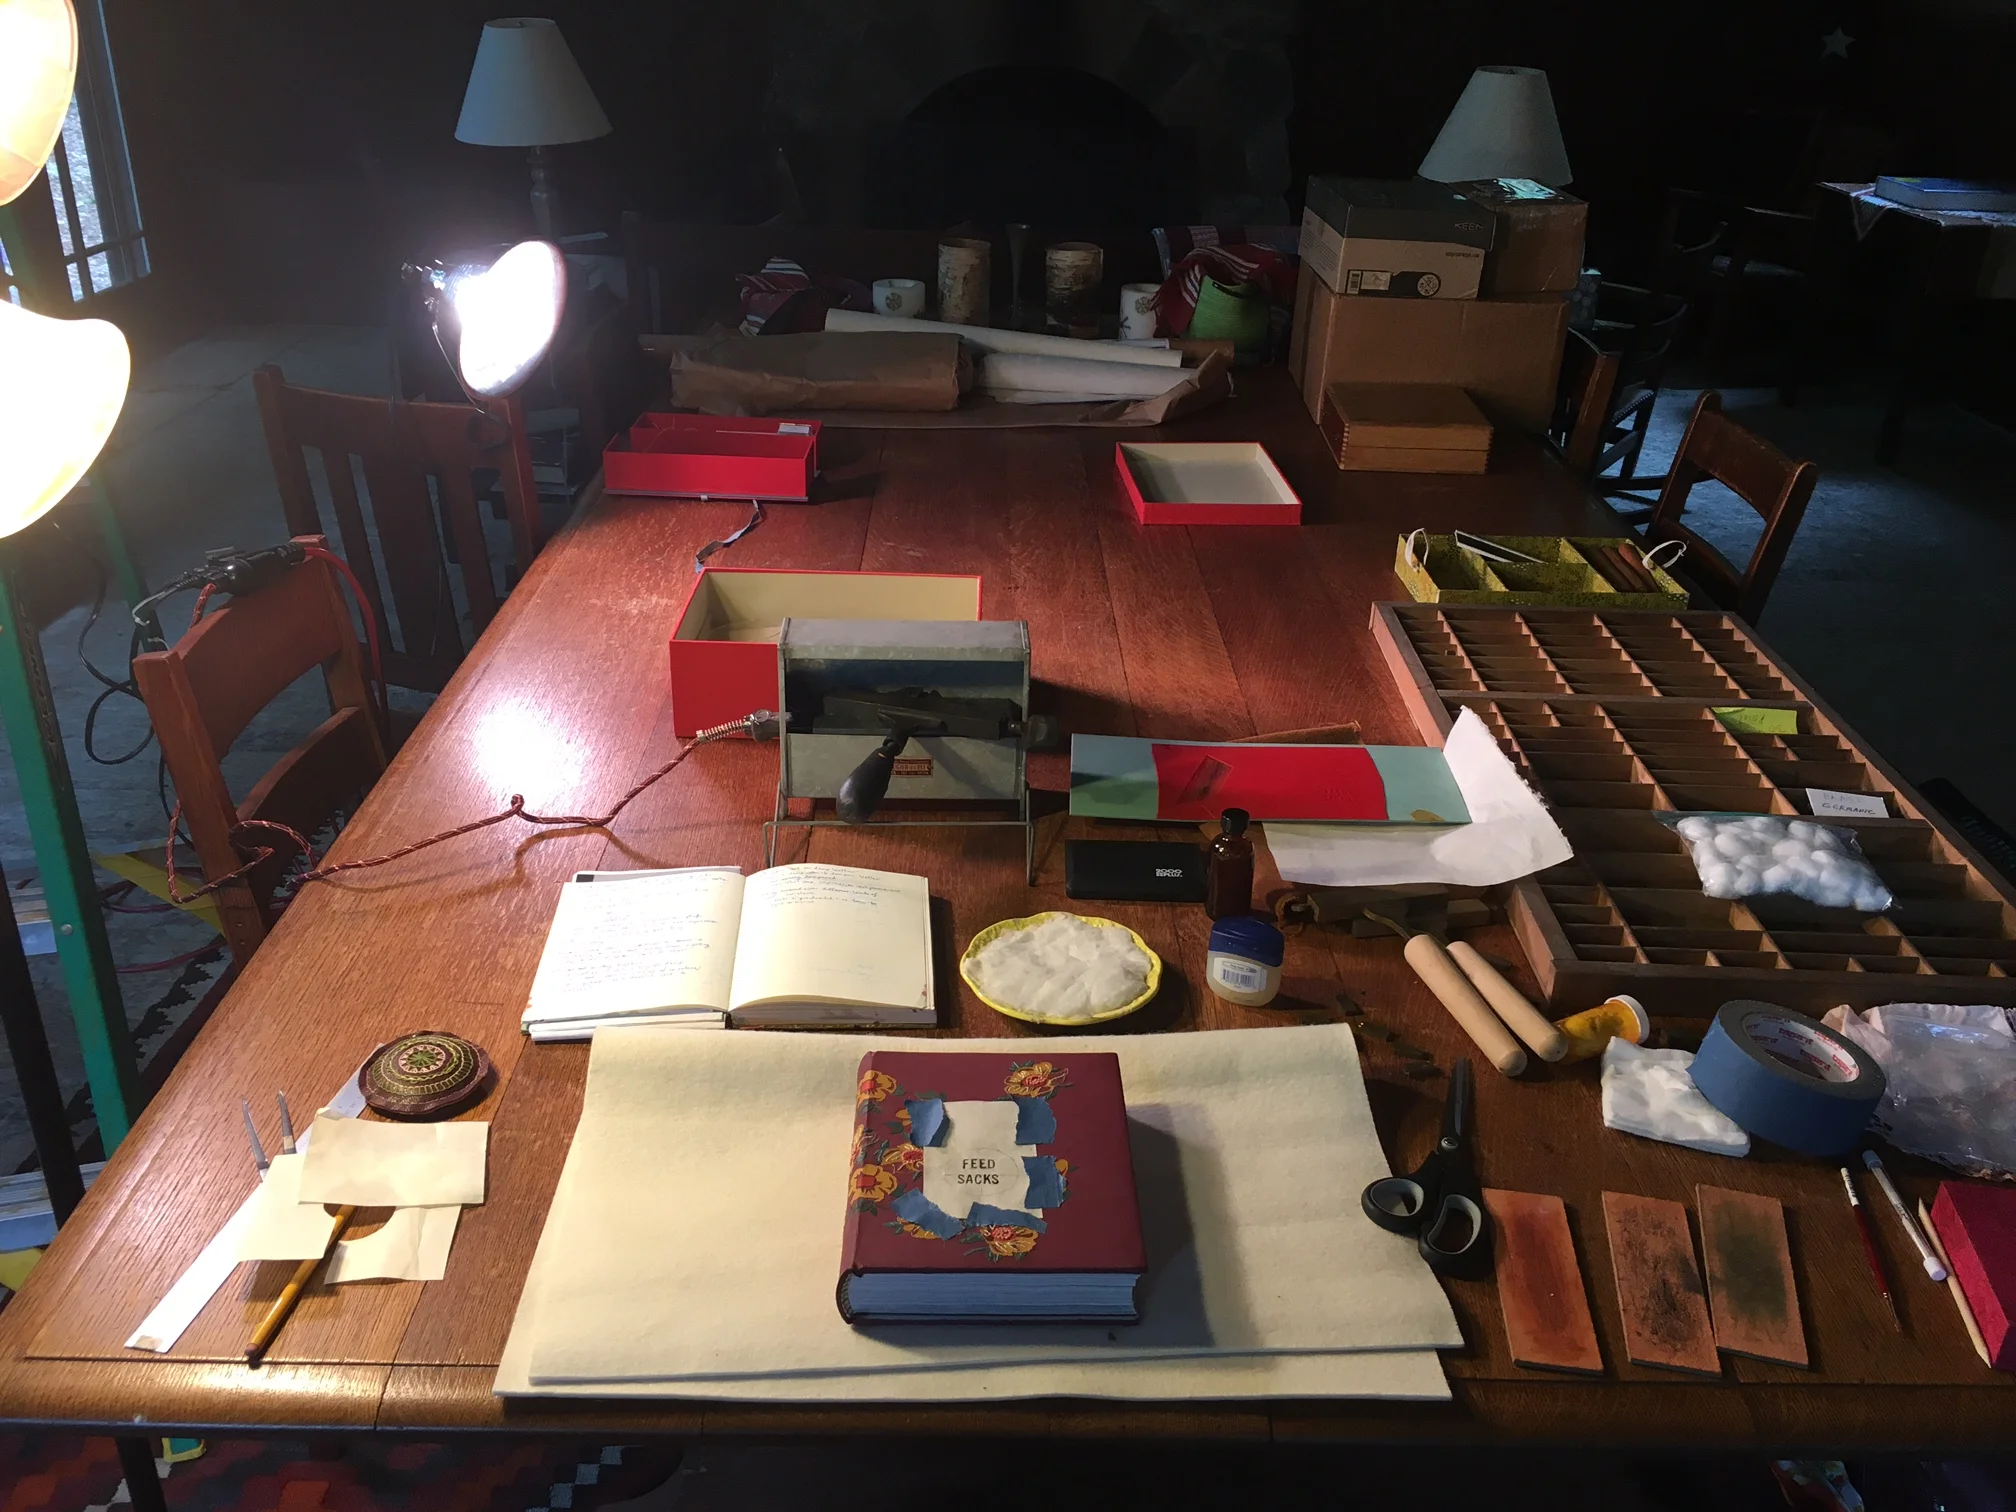
Finally, the book was ready to be photographed. I'm fortunate to work full-time at the Northeast Document Conservation Center, so I took advantage of our photo doc copy stand and camera. A much nicer set-up than jerry-rigging something in my apartment!
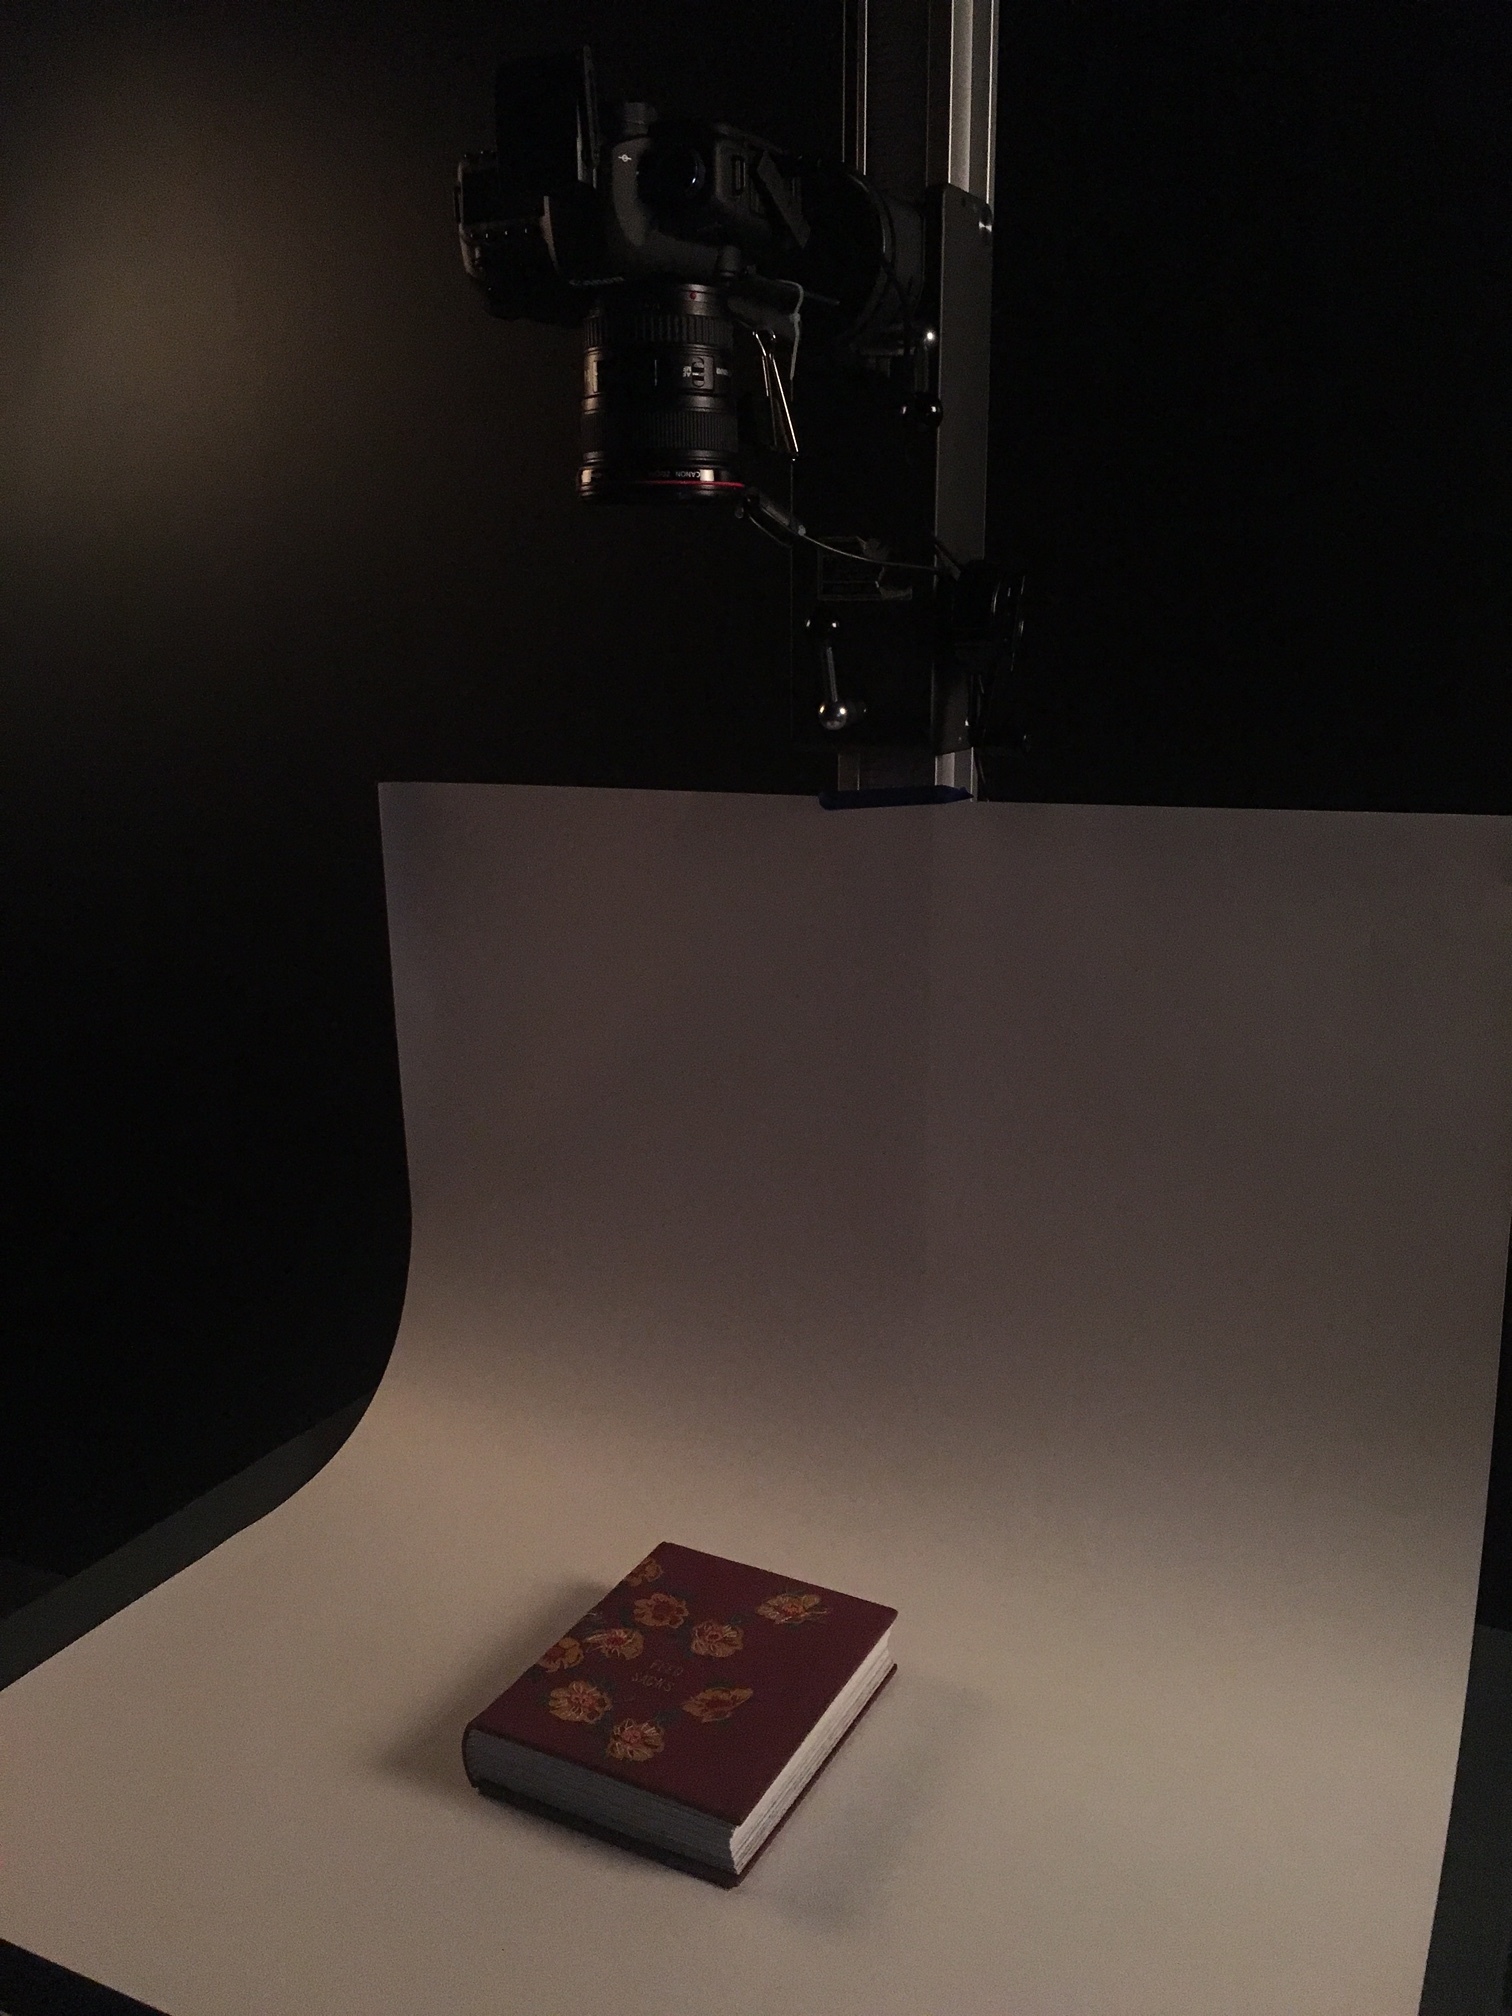
And now I just need to make a protective enclosure! I'm very happy with how this binding turned out. It's always so nice to have a deadline and project to force me to make work, and I'm thankful that Todd gave me the opportunity to participate in this fun project. I will post a link to the online exhibition once that is up, so stay tuned.